Oh, wallpaper. I have taken down more wallpaper in the last 5 years to add up to at least a few full weeks of my life. Like full 24 hours days. What could I have done with all that time?!? I have taken down wallpaper that was easy to remove and wallpaper that took WAY.TOO.LONG.
Our last home had what seemed like endless amounts of wallpaper: All the hallways, the powder room, and the guest bathroom all had wallpaper I removed. The laundry room did too, but that got all new dry wall so it didn’t count and one of the bathrooms still had wallpaper in it when we sold it.
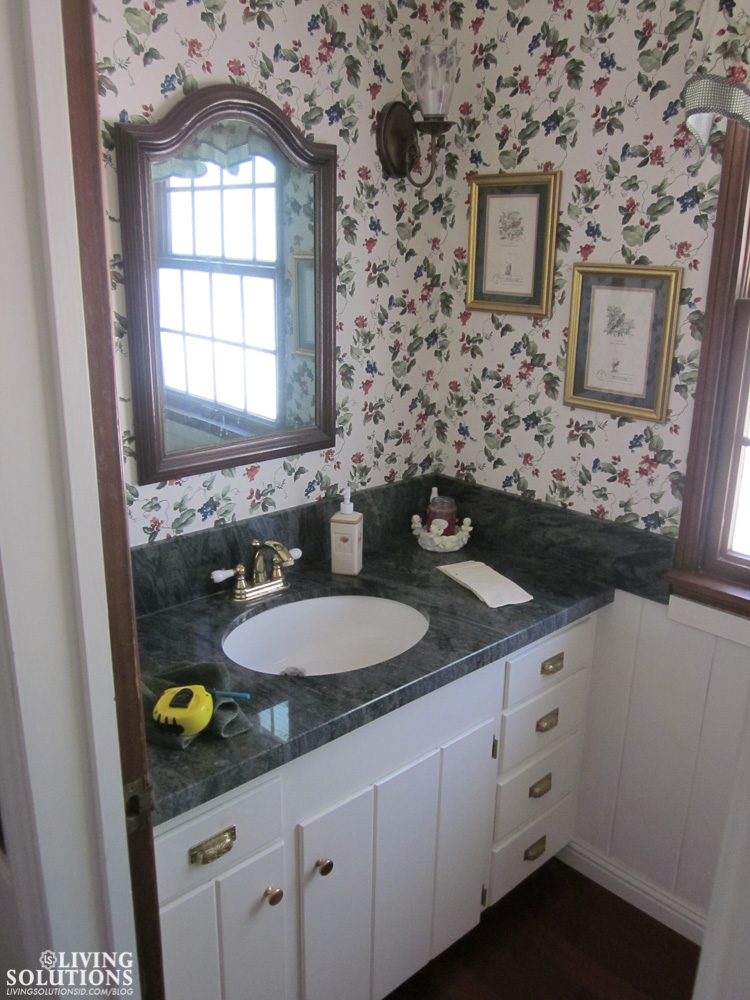 the powder bath our last house on the day of the inspection
 after
after
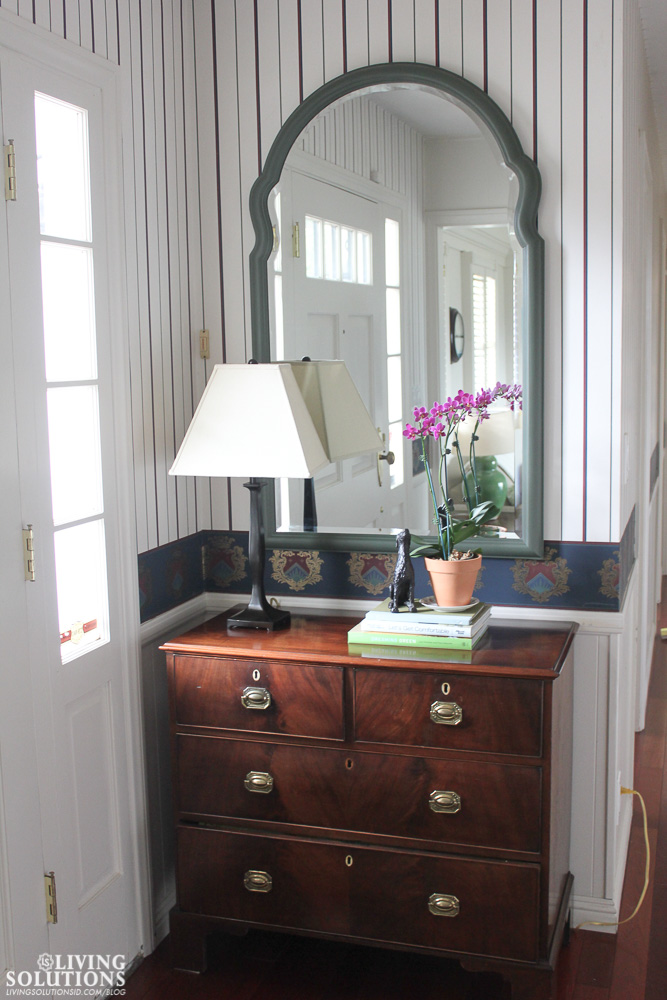 the entry of our old house before wallpaper came down
And guess what? We moved into our current home that has probably even more wallpaper! The master bedroom had wallpaper on the ceiling which we planked over. The boys’ room, the girls’ room and the guest bathroom had wallpaper borders, the office was completely wallpapered and I’m currently taking down the kitchen wallpaper {more to come on all these rooms}. I was lucky enough to have a lot of help when we first got our house. It was a family affair getting wallpaper off in those spaces.
 my dad and my kiddo saving us $55 an hour to have someone else take down all this paper!
What’s left you ask? Oh, just the kids’ Jack and Jill bathroom, the master bathroom, the powder bathroom {which I swear has almost the same wallpaper that was in our last powder bath!!}, and the laundry room. Not too much.
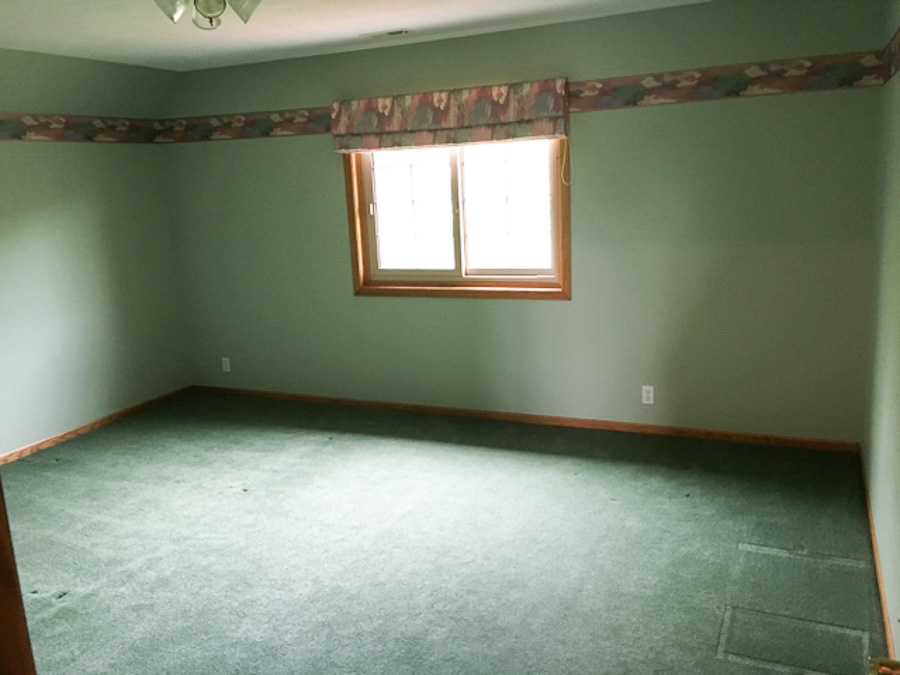 boys’ room before
 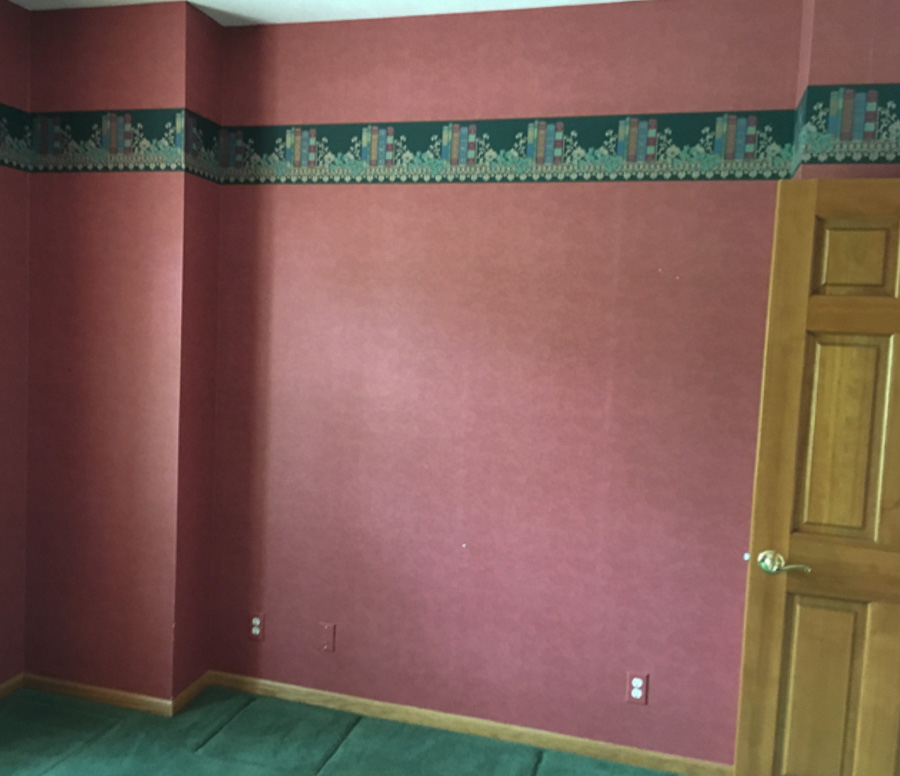 office before
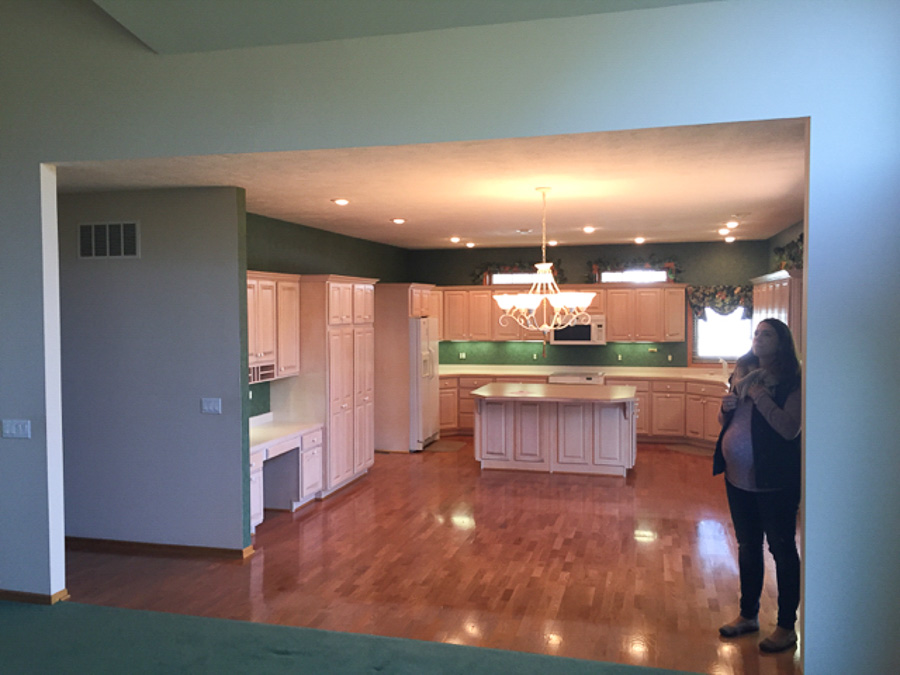 our kitchen when we first were touring our house, and me super pregnant!
So after all this wallpaper removal experience, I have a system now. And to be honest, I don’t actually hate it. I like that I get to see immediate progress of my efforts and I feel productive. It’s an easy way for me to see drastic improvement to my home. It’s something I can do without the help of a contractor, a plumber or electrician. So if you hear me listening to podcasts {this one is my go to when taking down wallpaper} you know that chances are I’m peeling off paper.

This photo pretty much sums up my last 5 years or so ~ pregnant & home improvement. The day before my 4th baby arrived. You’re getting to see all the good photos today :)
Back when I started all this craziness of removing house-fulls of wallpaper, I researched all the different ways that were out there to remove wallpaper. There’s the steamer approach, there’s the water and fabric softener approach, and there’s different tools you can use. Here is what seems to work best for me. There have been a couple of wallpapers I have removed that were not super easy and it just took longer and maybe a hardier wallpaper scraper.
Tools
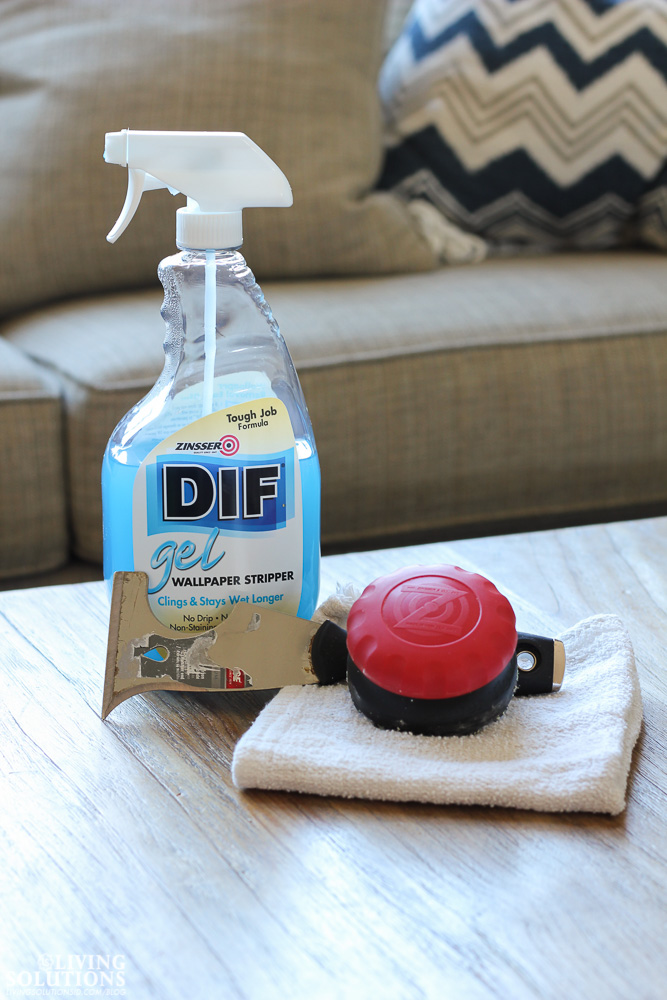
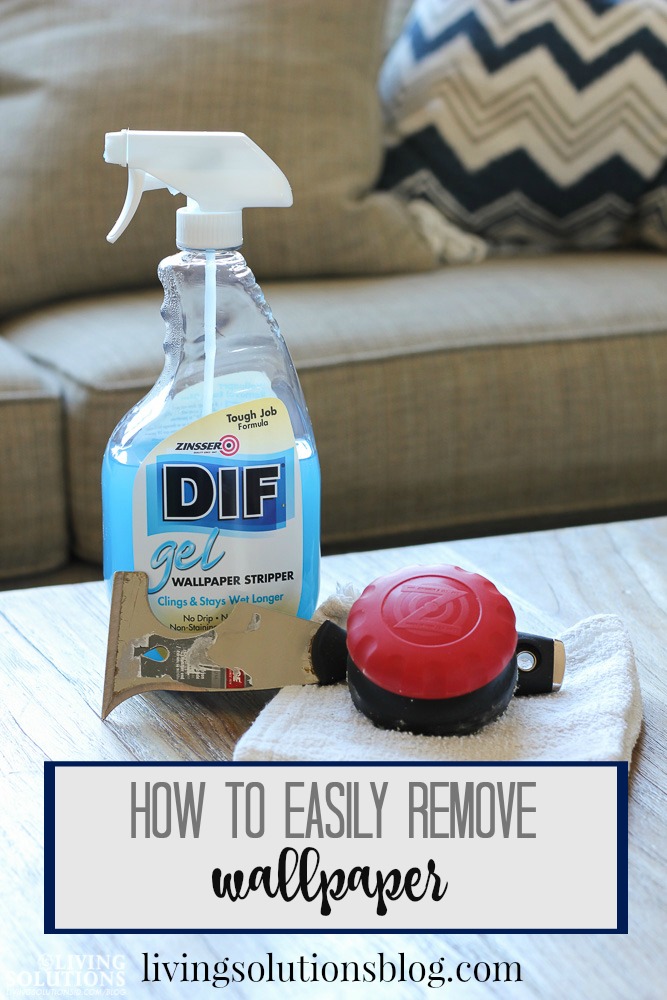
I’ve used a couple different Dif products, and I have found that I like the gel wallpaper stripper the best, but I have used the fast acting spray wallpaper stripper and it works well too.
This is my new favorite scraper tool. I think it’s a painter’s scraper tool. Do NOT get a scraper with a “Flexible” handle. They do not work well when it comes to scraping off paper. There are scrapers at the paint store that have a range of flexibility to the handle and it can have a tiny bit of give, but I have found the more flexible the handle, the worse of a wallpaper removal tool it is! The one I currently have I think my dad picked up and it works really well.
The Paper Tiger wallpaper scoring tool is what I use to rough up the wall first. You DON’T need to press too hard or else you will score the dry wall and you don’t want to do that! You just want to get really that first layer scored. The more you score it, the easier it will be to remove it. I also use an old rag and hot water.
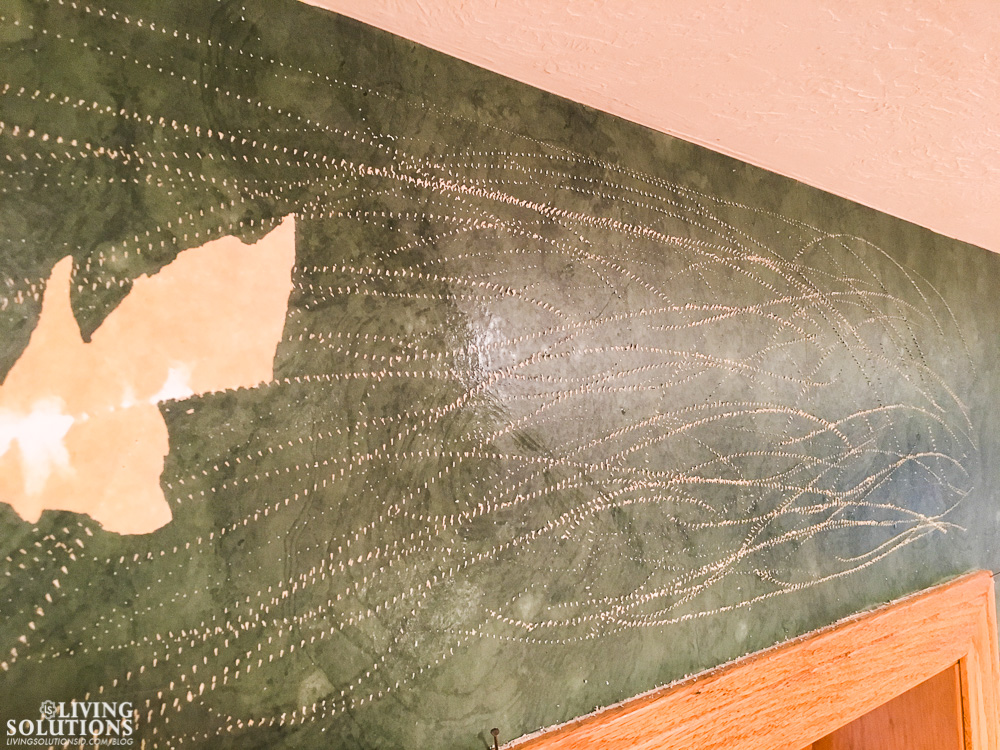
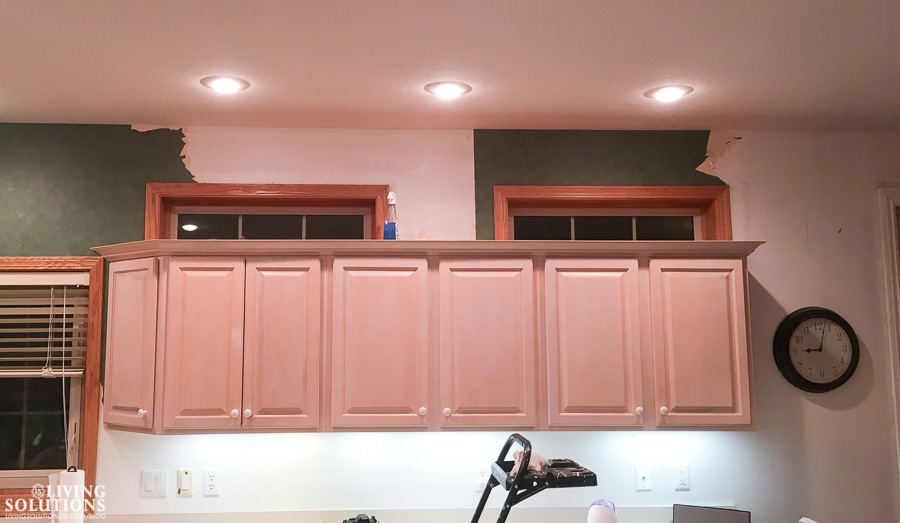 my current kitchen wallpaper ~ I’ve got maybe 1/5 left to remove!! This whole wall is wallpaper free right now, and I’ve been dreaming up ways to change this space for little money…
The Method
My method is not rocket science :) And I’m sure there are quite a a few other techniques that work great too. But it works for me, and as we know, I still have quite a bit of removing to do!
First I score the wall. I work in sections so I can easily stop and see the progress I made. Again, don’t score too aggressively! Just the top layer.
Second, I spray the wallpaper removal spray on the scored area. I let it soak in according to the directions.
Third, I get a rag and dampen it with hot water, ring it out and press it up to the wall where I have scored and sprayed, acting kind of like a steamer, but I put it directly on the wall. The easier it all comes off the longer I keep the hot rag on and especially if I repeat this step a few times.
Fourth, I peel off the top layer of paper. If I get some of the backing with the first attempt, great, but if I try to get the top layer off first, it seems to go quicker.
I repeat the hot water rag step as much as I feel like I need to, peel off, and then after the top layer is off, I wet the backing layer and just scrape that all off and at that point, it usually comes off super easily.
You don’t want to get too far into your removing so it looks like this:
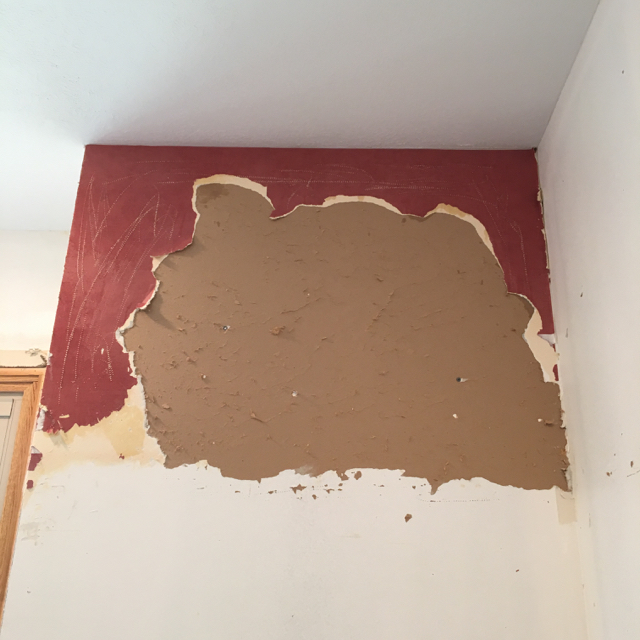
If it looks like this, you’ve gone too far!

This isn’t the most interesting picture, but it shows the top layer {green}, the backing {the tan} and then the dry wall {the white}.
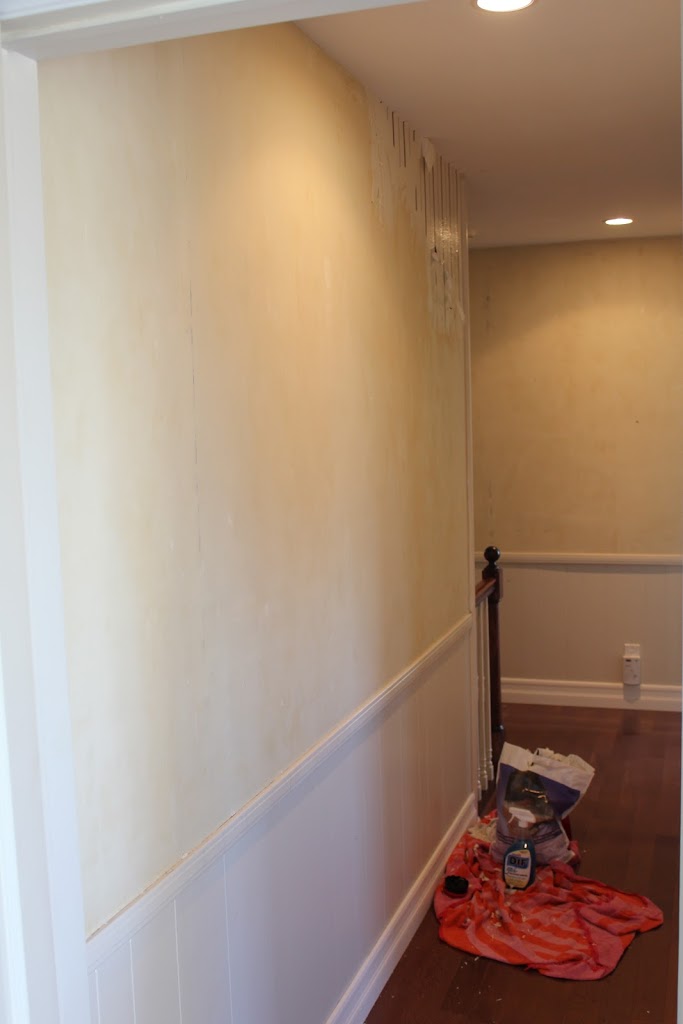
 the upstairs hall in our last house

There’s no doubt it’s time consuming, but taking down dated wallpaper sure makes a huge difference and doing it yourself can save tons of money.
I’m off to try to finish my kitchen in between the craziness of everyday life. It should only take just about another 2 1/2 full days of my life. :)
affiliate links used
Come find me on Pinterest // Facebook // Instagram // Twitter
I would love to connect with you!



Leave a Reply