Happy Friday, friends! I’m so happy it’s Friday! We all have today off {even my hubby, because, you know, it’s Arbor Day. Wait, you’re not all celebrating Arbor Day?!? ;) That’s another unique to Nebraska thing!}
I’ve been working a little bit on our master bedroom, trying to finalize the window treatments. I just ordered some decorative tape trim to make my Ikea drapes more custom looking and I’ll be sure to share that when it’s complete. The master is far from being an “AFTER” but in the next month or so hopefully it will feel more finished.
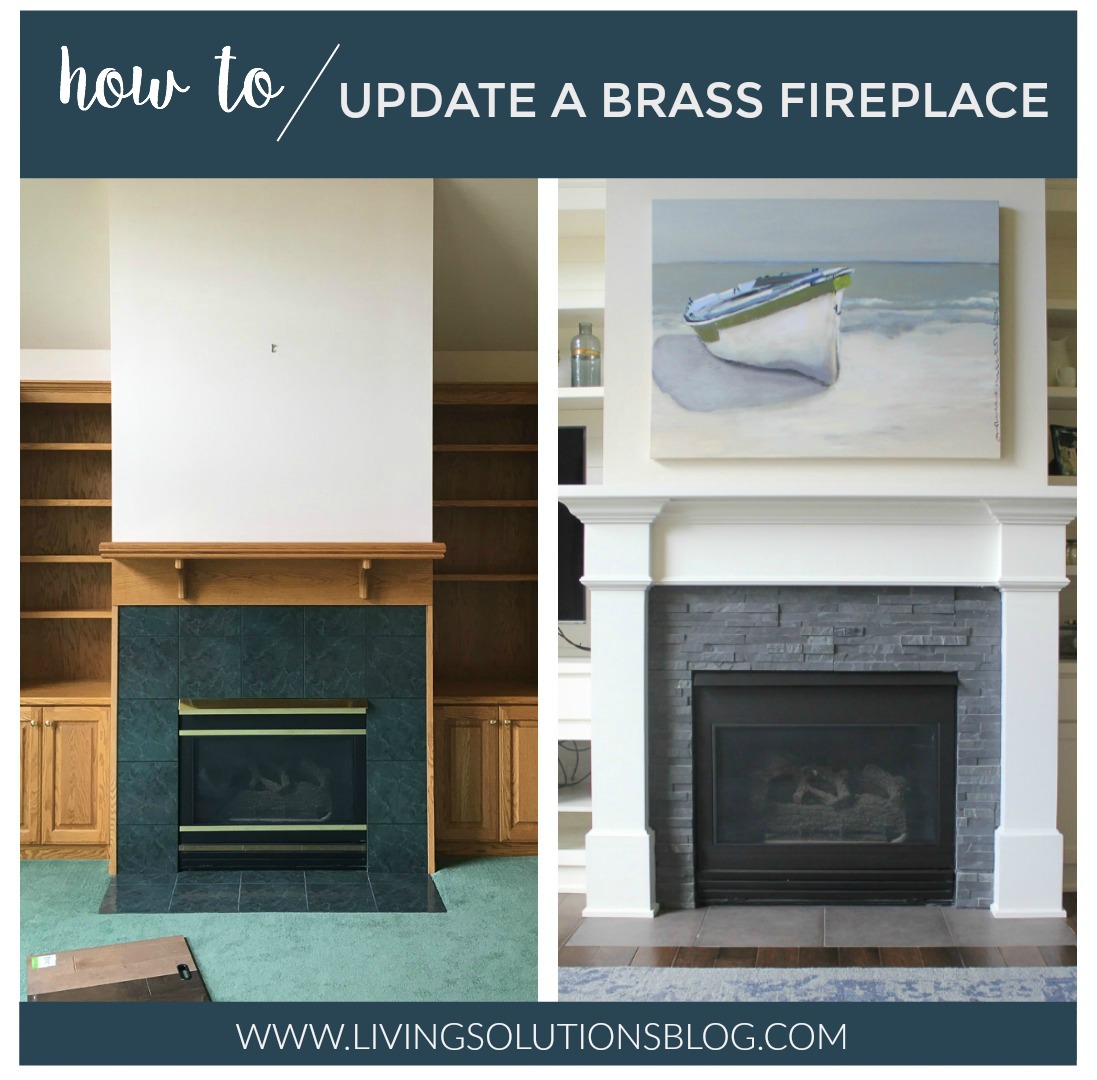
This week, I’ve been working on our great room fireplace. I shared our great room remodel awhile back {you can read all about it HERE} and it’s been completely finished for awhile now, except for the out-of-date firebox.

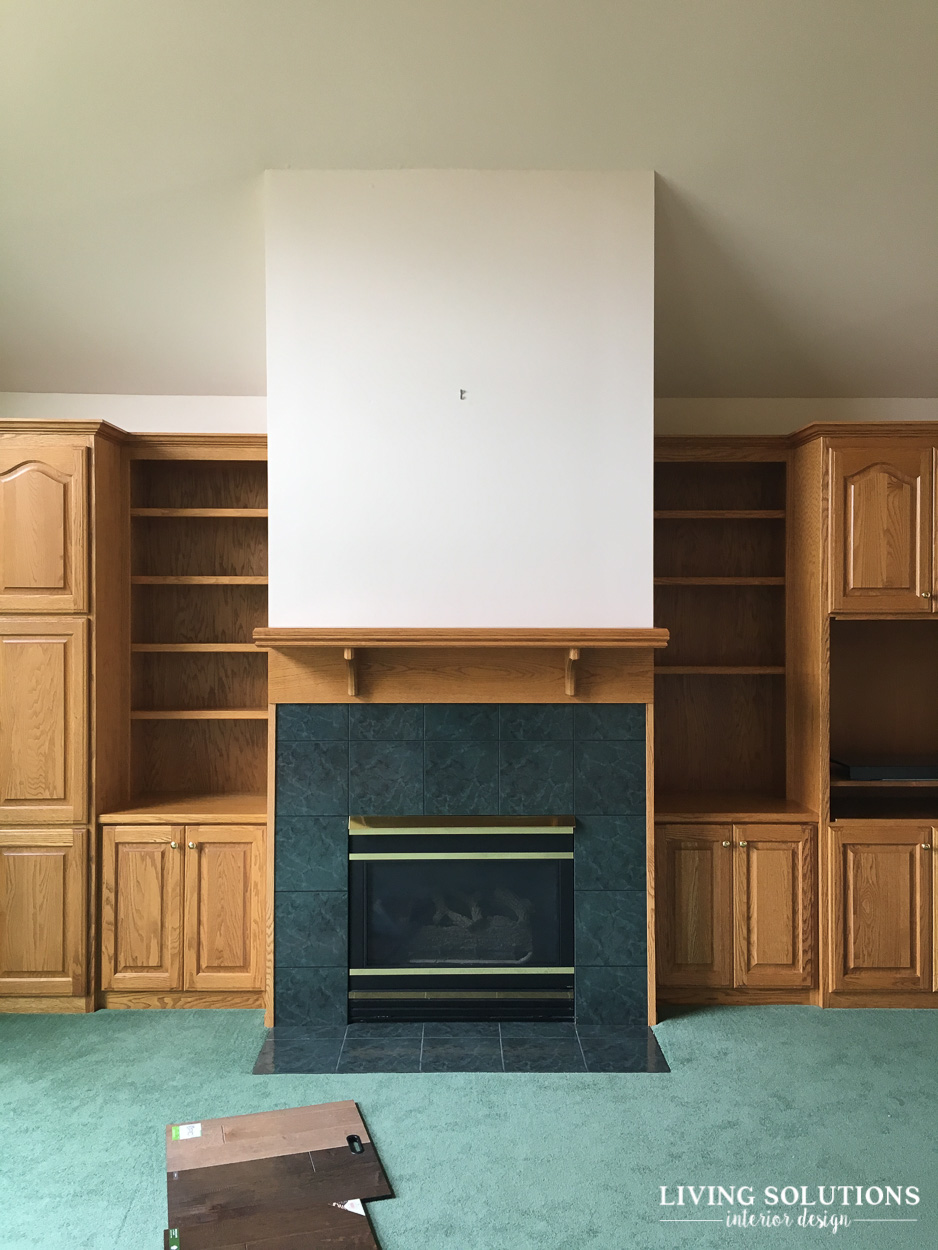
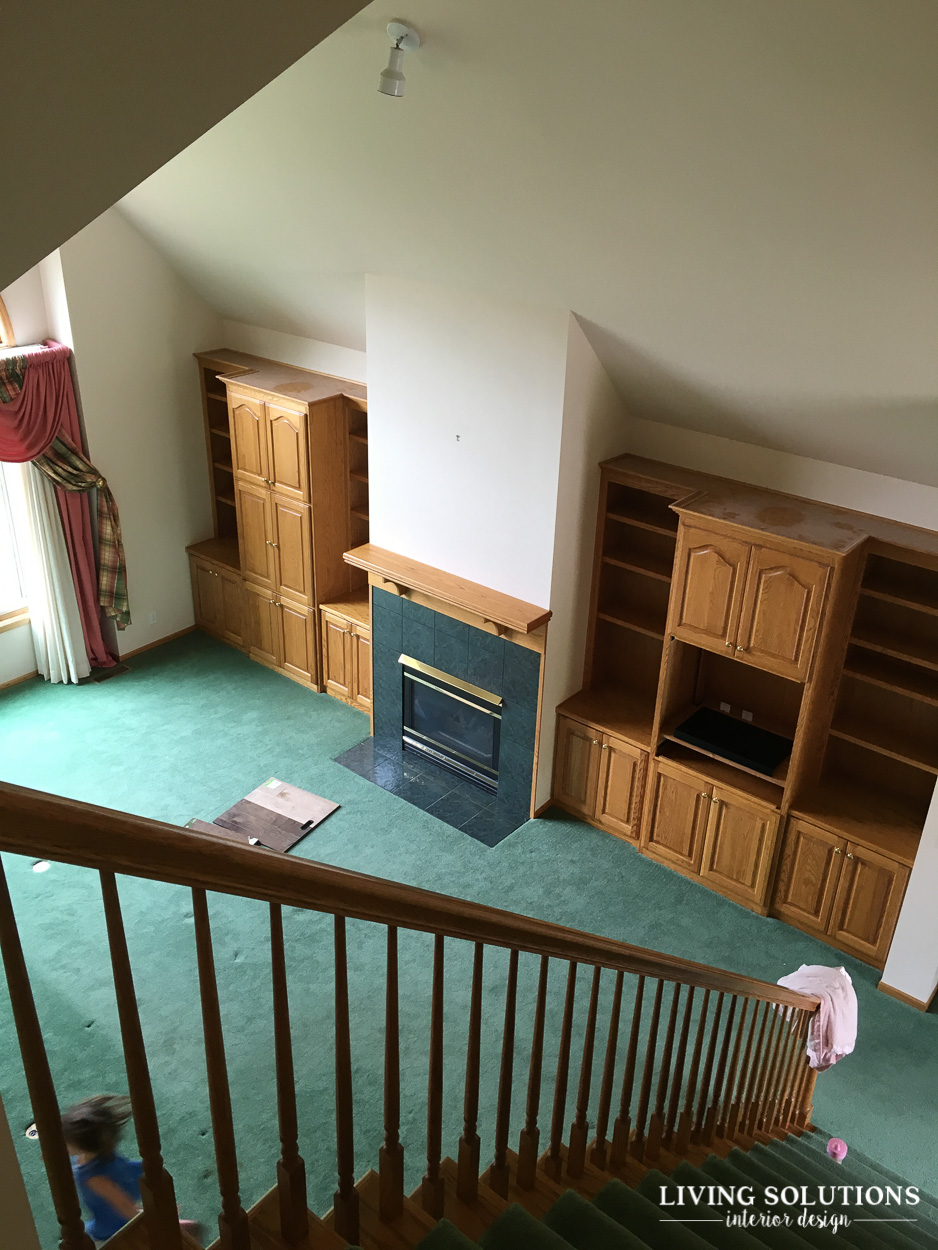
before

I’m all about mixing high{er} end furniture, fixtures, etc. with more budget friendly options, both in my client’s design projects and in my own home. And when I can save a good chunk of money with minimal investment, I’m all for it! Paint is a super easy way to do this.
When we were remodeling the great room, I thought I could save a bit of money and not replace the entire fireplace, but just paint the out-dated brass. Everything on the gas fireplace works fine, so to replace it just to get the brass out of there seemed like a waste of money to me. When it was all done, the new stone was installed, and everything was finished, I got totally nervous about how I was actually going to paint that brass out!!! I totally should have done it before they started, but I had just had a baby, was living in a hotel and didn’t really feel up to it at the time.
I knew there was a high heat spray paint, but I was worried I was going to totally ruin the entire surround, even if I figured out a way to protect from over-spray. You know how spray paint can drift if you have ever used it, and all I could imagine was little black dots of spray paint all over the brand new fireplace surround!
I figured there had to be a paint I could roll on instead of spray. And my neighbor suggested a certain kind of roller for painting cabinets and I thought it could work for this project too. So all I needed to find was the paint. I asked around at a couple of paint stores and found Rustoleum High Heat paint in BBQ Black in a can.

I used the Multi Surface Frog Tape on this project. I have been using this tape recently on painting projects and it’s worked great! There hasn’t been any bleeding and it hasn’t taken off newly painted paint, like on newly painted walls when I’m painting baseboard.

I completely forgot to take a picture of the roller I used. This paint doesn’t clean up well, so I just tossed the rollers after I used them. But I did keep the wrapper. It’s the 4″ purple Whizz velour roller and it worked SO well. I used it on another little project and I’m so impressed with the smoothness. Thankful to my neighbor who suggested it! Now I’m ready to paint all the cabinets in the house!


And then it sat like that for a few days. I was so nervous to actually start painting it, because what if I totally ruined it and my “saving money” plan was shot?!? I finally just decided to go for it. Couldn’t be any worse than it already was, right?!?

I started with this removable piece. I didn’t prime it, but it took 3 coats to cover the brass.
 You can see how the brass wasn’t covered the first round or two.


Then I started painting on the actual fireplace. It took about an hour or two between coats and it cures after a few days. A little bit went a long way, and it’s hard to clean up like I mentioned earlier.
PAINTING TIP: I always wrap my brushes or rollers in tin foil if I’m going to use them the same day but don’t want them to dry out.


after
And here it is all freshened up and put back together! I am so pleased how this little project turned out! I am not your mega DIYer. I know how to paint fairly well thanks to my dad’s years of teaching. We’ve have a table saw that we’ve used, and I can use a drill if I have to, but I’m not huge into DIYs, so know that when I share a DIY project on here it isn’t incredibly challenging. Maybe time consuming, but not super difficult! This was an easy project that cost maybe $15, {I had some of the tape on hand} didn’t take long, and resulted in a whole new look!

I also wanted to say thank you for all the great feedback and support with my new website! I’m loving my new logo, colors, and overall update and I’m excited to continue helping people love their home :)

*affiliate links used
Come find me!
Pinterest // Facebook // Instagram // Twitter
I would love to connect with you!


Gina that makeover is INCREDIBLE!! Oh my word. Seeing the before and after side by side is just crazy. Such a difference! And I’m so impressed you painted that yourself. Amazing! Love all the updates you’ve made to your new home. I can’t wait to visit someday! :) xo
Thanks Erin!! It wasn’t too hard of a DIY, so I could manage ;) The guest room is ready and I have a whole shopping trip tour mapped out! xoxo
Hello! I just found this post via Pinterest and just love everything about the updated fireplace. What type/color of tile was used for the base and for the mosaic tile surrounding the fireplace?
Thank you!!
Thank you, Gabrielle! I looked for some info, but couldn’t find the specifics on the tile and stone. The stone surrounding the fireplace is a stacked slate stone. I just went to my local fireplace/stone/patio store and picked from the different stone available. It’s more of a solid gray with some white veining. And after I picked the stacked stone, I went to my tile store and picked a large porcelain tile that blended. I hope this helps! Sorry I don’t have the specifics! :)
Can you source the painting? Love it!
Hi Katie! It’s from Ballard Designs!