“Command Central” is moving along! I first wrote about the next project on my own home’s to-do list here and here. As I mentioned before, we desperately need a place to drop all our bags, shoes, etc. and a place to keep all our little “extras” {hats, sunscreen, etc.} and mail when it comes in.
The room started like this…
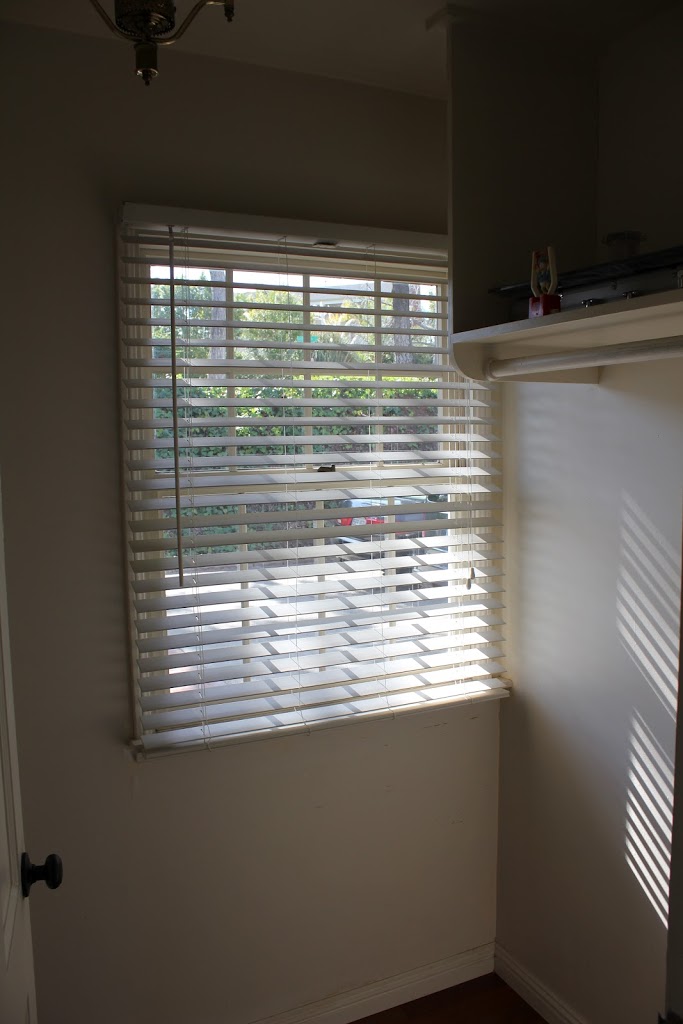
We had the shelf and rod taken out and the dry wall repaired and re-textured.

I contemplated doing something fun with this room, and painting stripes on the wall seemed to be whimsical enough without being too difficult to accomplish.
So I did a little bit of research on the best approach to painting stripes on a wall and got my painting clothes on!
First, I primed the walls and ceiling with an oil based primer to seal in the old wallpaper underneath. Boy is that stuff stinky! I did one coat of the oil based primer and one coat of a water based primer. Next, I painted the ceiling my go to ceiling paint color: Benjamin Moore Cloud White.
Next up, I painted the walls the lighter of the two colors. I made a bit of a goof on that. I was planning on using Benjamin Moore’s Swiss Coffee, and one day I had a few minutes so I decided to head over to Dunn Edwards and pick up Swiss Coffee. Dunn Edwards Swiss Coffee. Later that day I realized that I hadn’t gotten the paint that I originally planed on. They are a bit off, but still pretty much the same, so I decided to suck it up and go with it!
I taped out 10″ stripes with blue tape after the Swiss Coffee was completely dry. I decided to go with the lighter stripe up top because I didn’t want to worry about the darker paint bleeding through to the ceiling. That left the lowest stripe the lighter color, too, but it was about 12″-13″ wide. I decided to leave it a bit larger than the rest because we will eventually replace the baseboard in this little room with a larger one, and that will make the stripe just about 10″.


This corner on the left was a bit tricky. The window is about 2″ from the corner. That and the fact that there is a wood blind adding to the bulk made it a bit difficult to get back in there.
Just a friendly tip: make your pencil marks light! After all the stripes were mapped out, I painted the lighter color over the edge of the paint where the darker color would eventually go. That “sealed” the paint line, so in case anything did bleed through, it was just the same color of the lighter stripe.


Next, I painted the darker color in the larger taped off area.


I let that dry and painted a second coat. While the second coat of darker paint was still wet, I took off the blue tape. That’s my new favorite painting tip! It definitely helped not pull off any of the other paint. After a couple of days of letting it completely dry, I went back and erased the pencil marks that were left.


I decided not to paint the trim around the window and door just yet because like I mentioned earlier, we will be replacing the trim hopefully in the somewhat near future. So I just cleaned up the baseboard.
Still on the to-do list for this little project:
- touch up painting
- hang the white wall shelf
- valance window treatment
- order the bench
- order 3 wire wall baskets to hang to the left of the window for catalogs/magazines, bills/mail for immediate attention, and other mail
- spray paint the unfinished coat hook
- hang the coat hook
- add labels to the back of the door shoe organizer
- find or make containers for the white wall shelf
Eventually, we’d like to:
- paint the built in storage
- do new molding around the window and door and new baseboard
- new wood blind for the window
- paint the window
- get a new light fixture
There is still a lot do to this little room, but we’re on our way! Hanging the white wall shelf is on the agenda for this weekend…we’ll see if we actually accomplish it :)


Leave a Reply