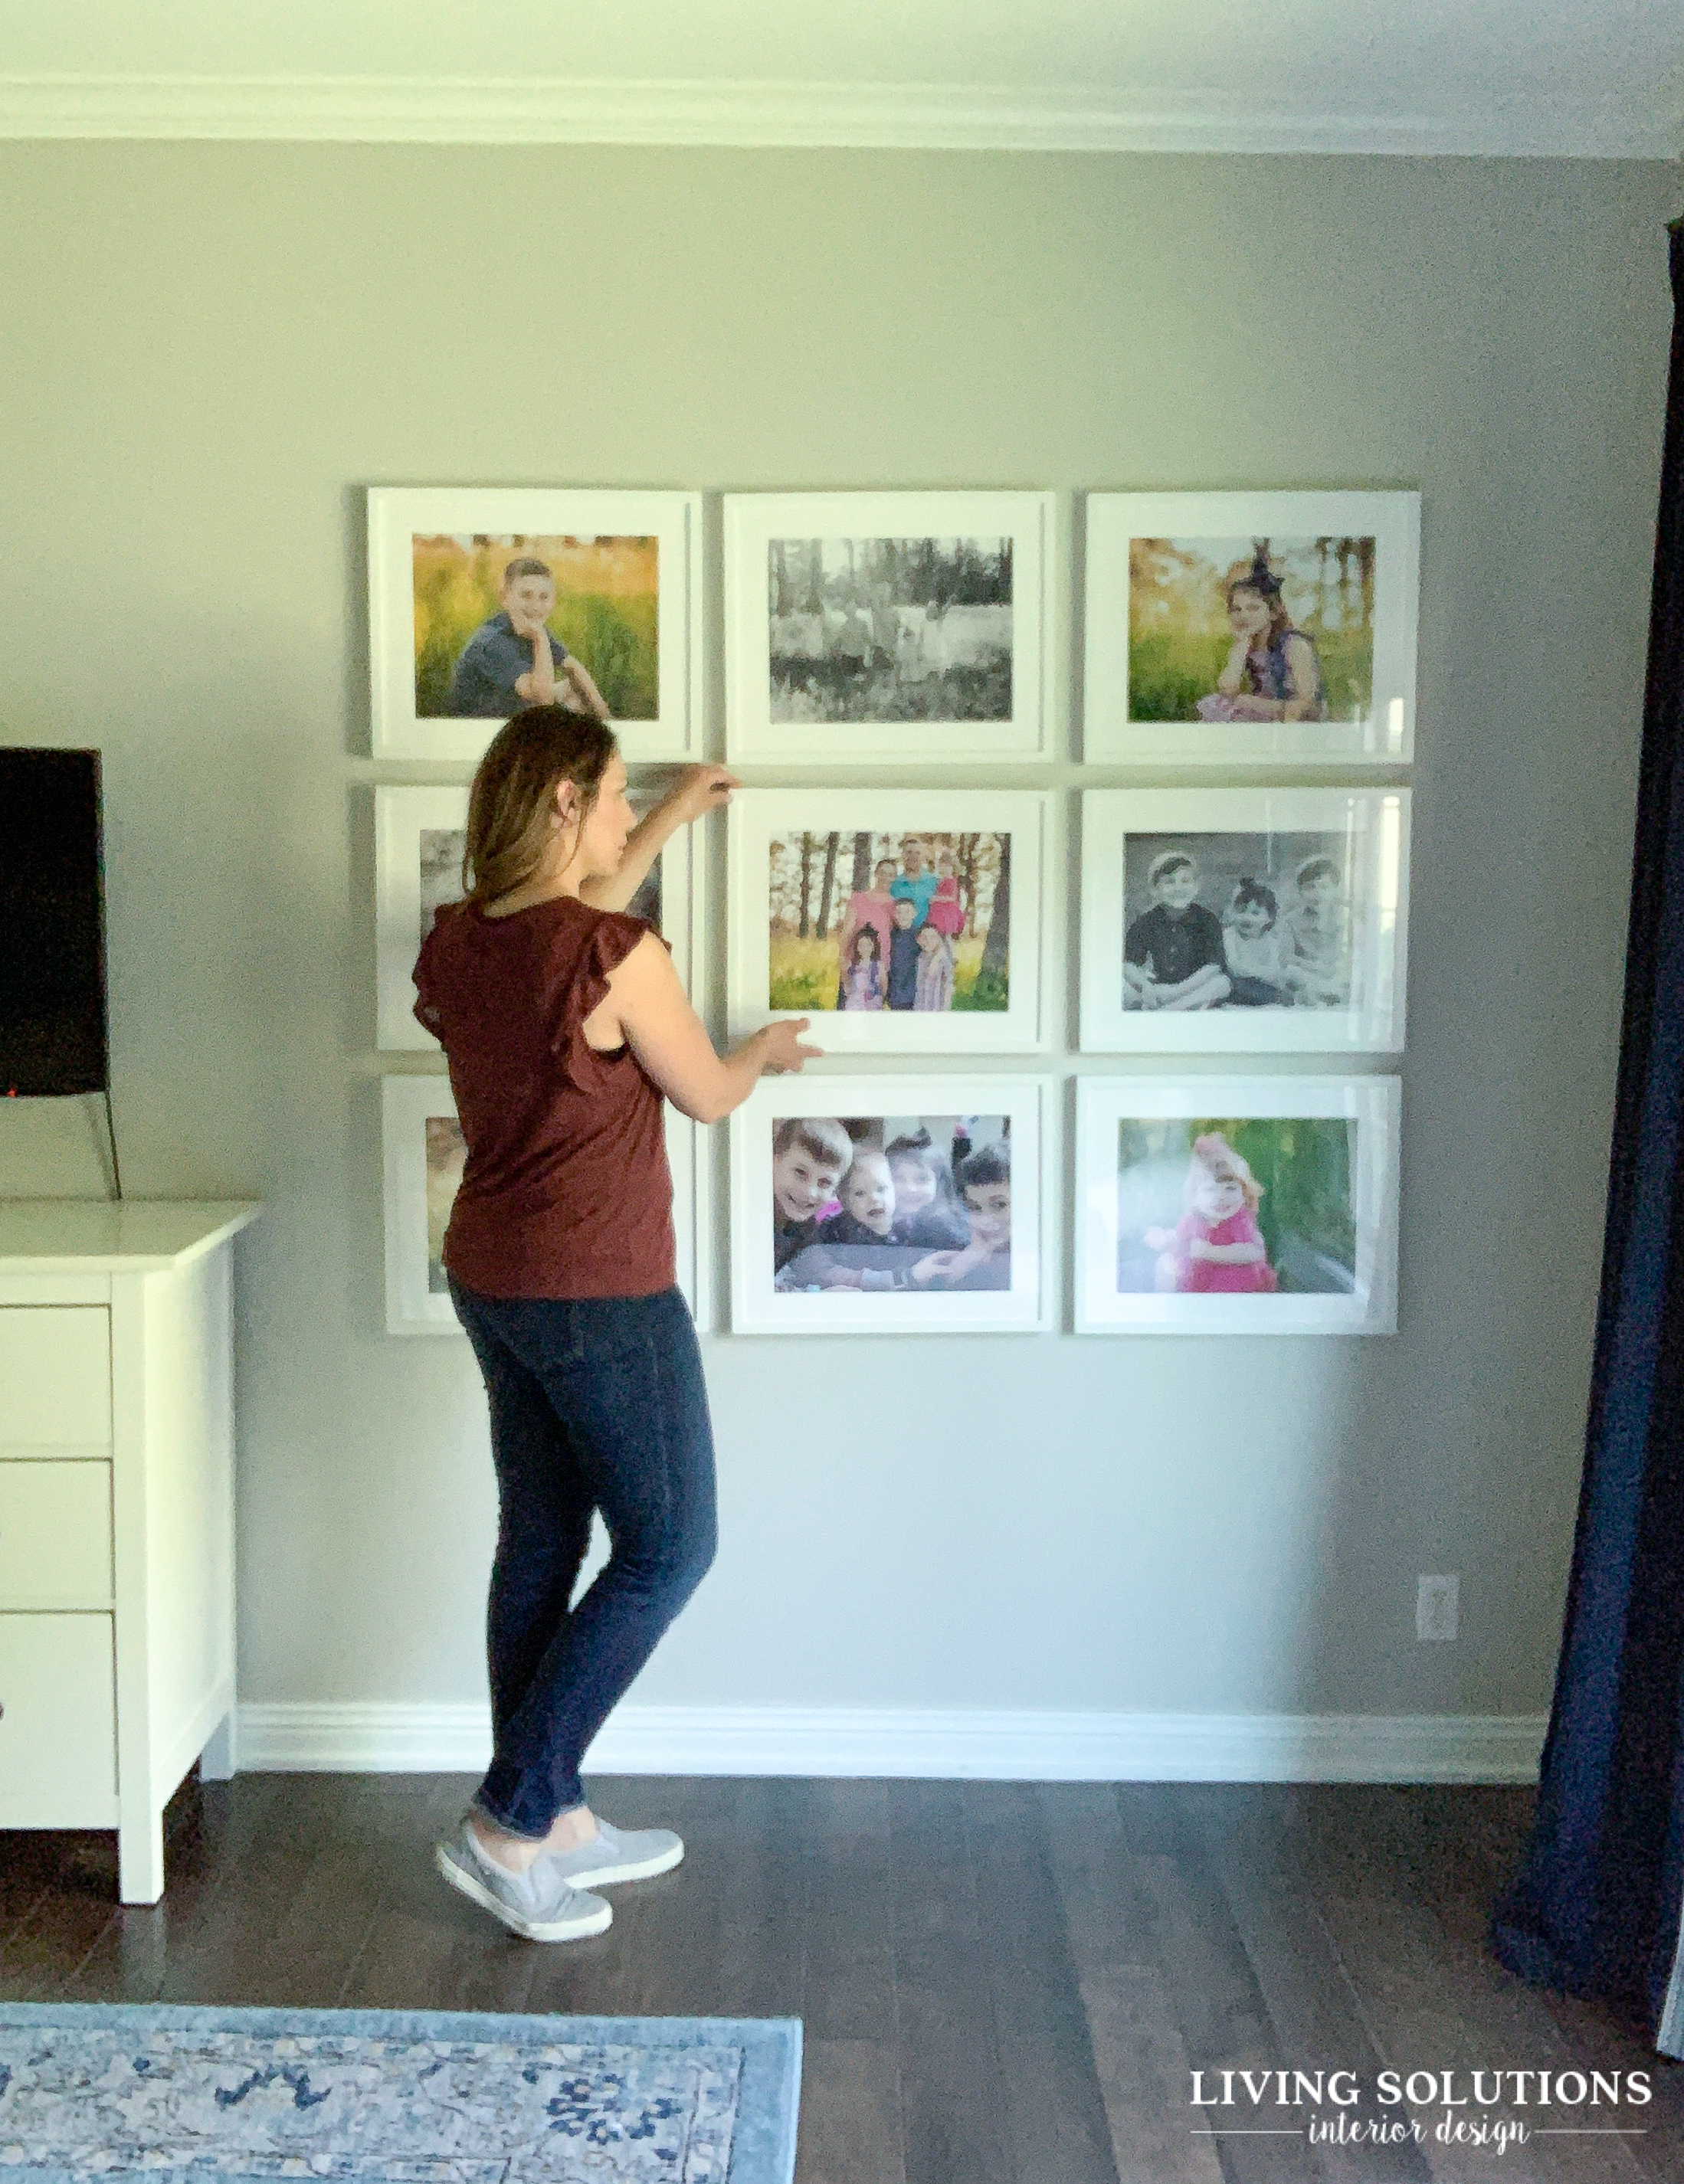
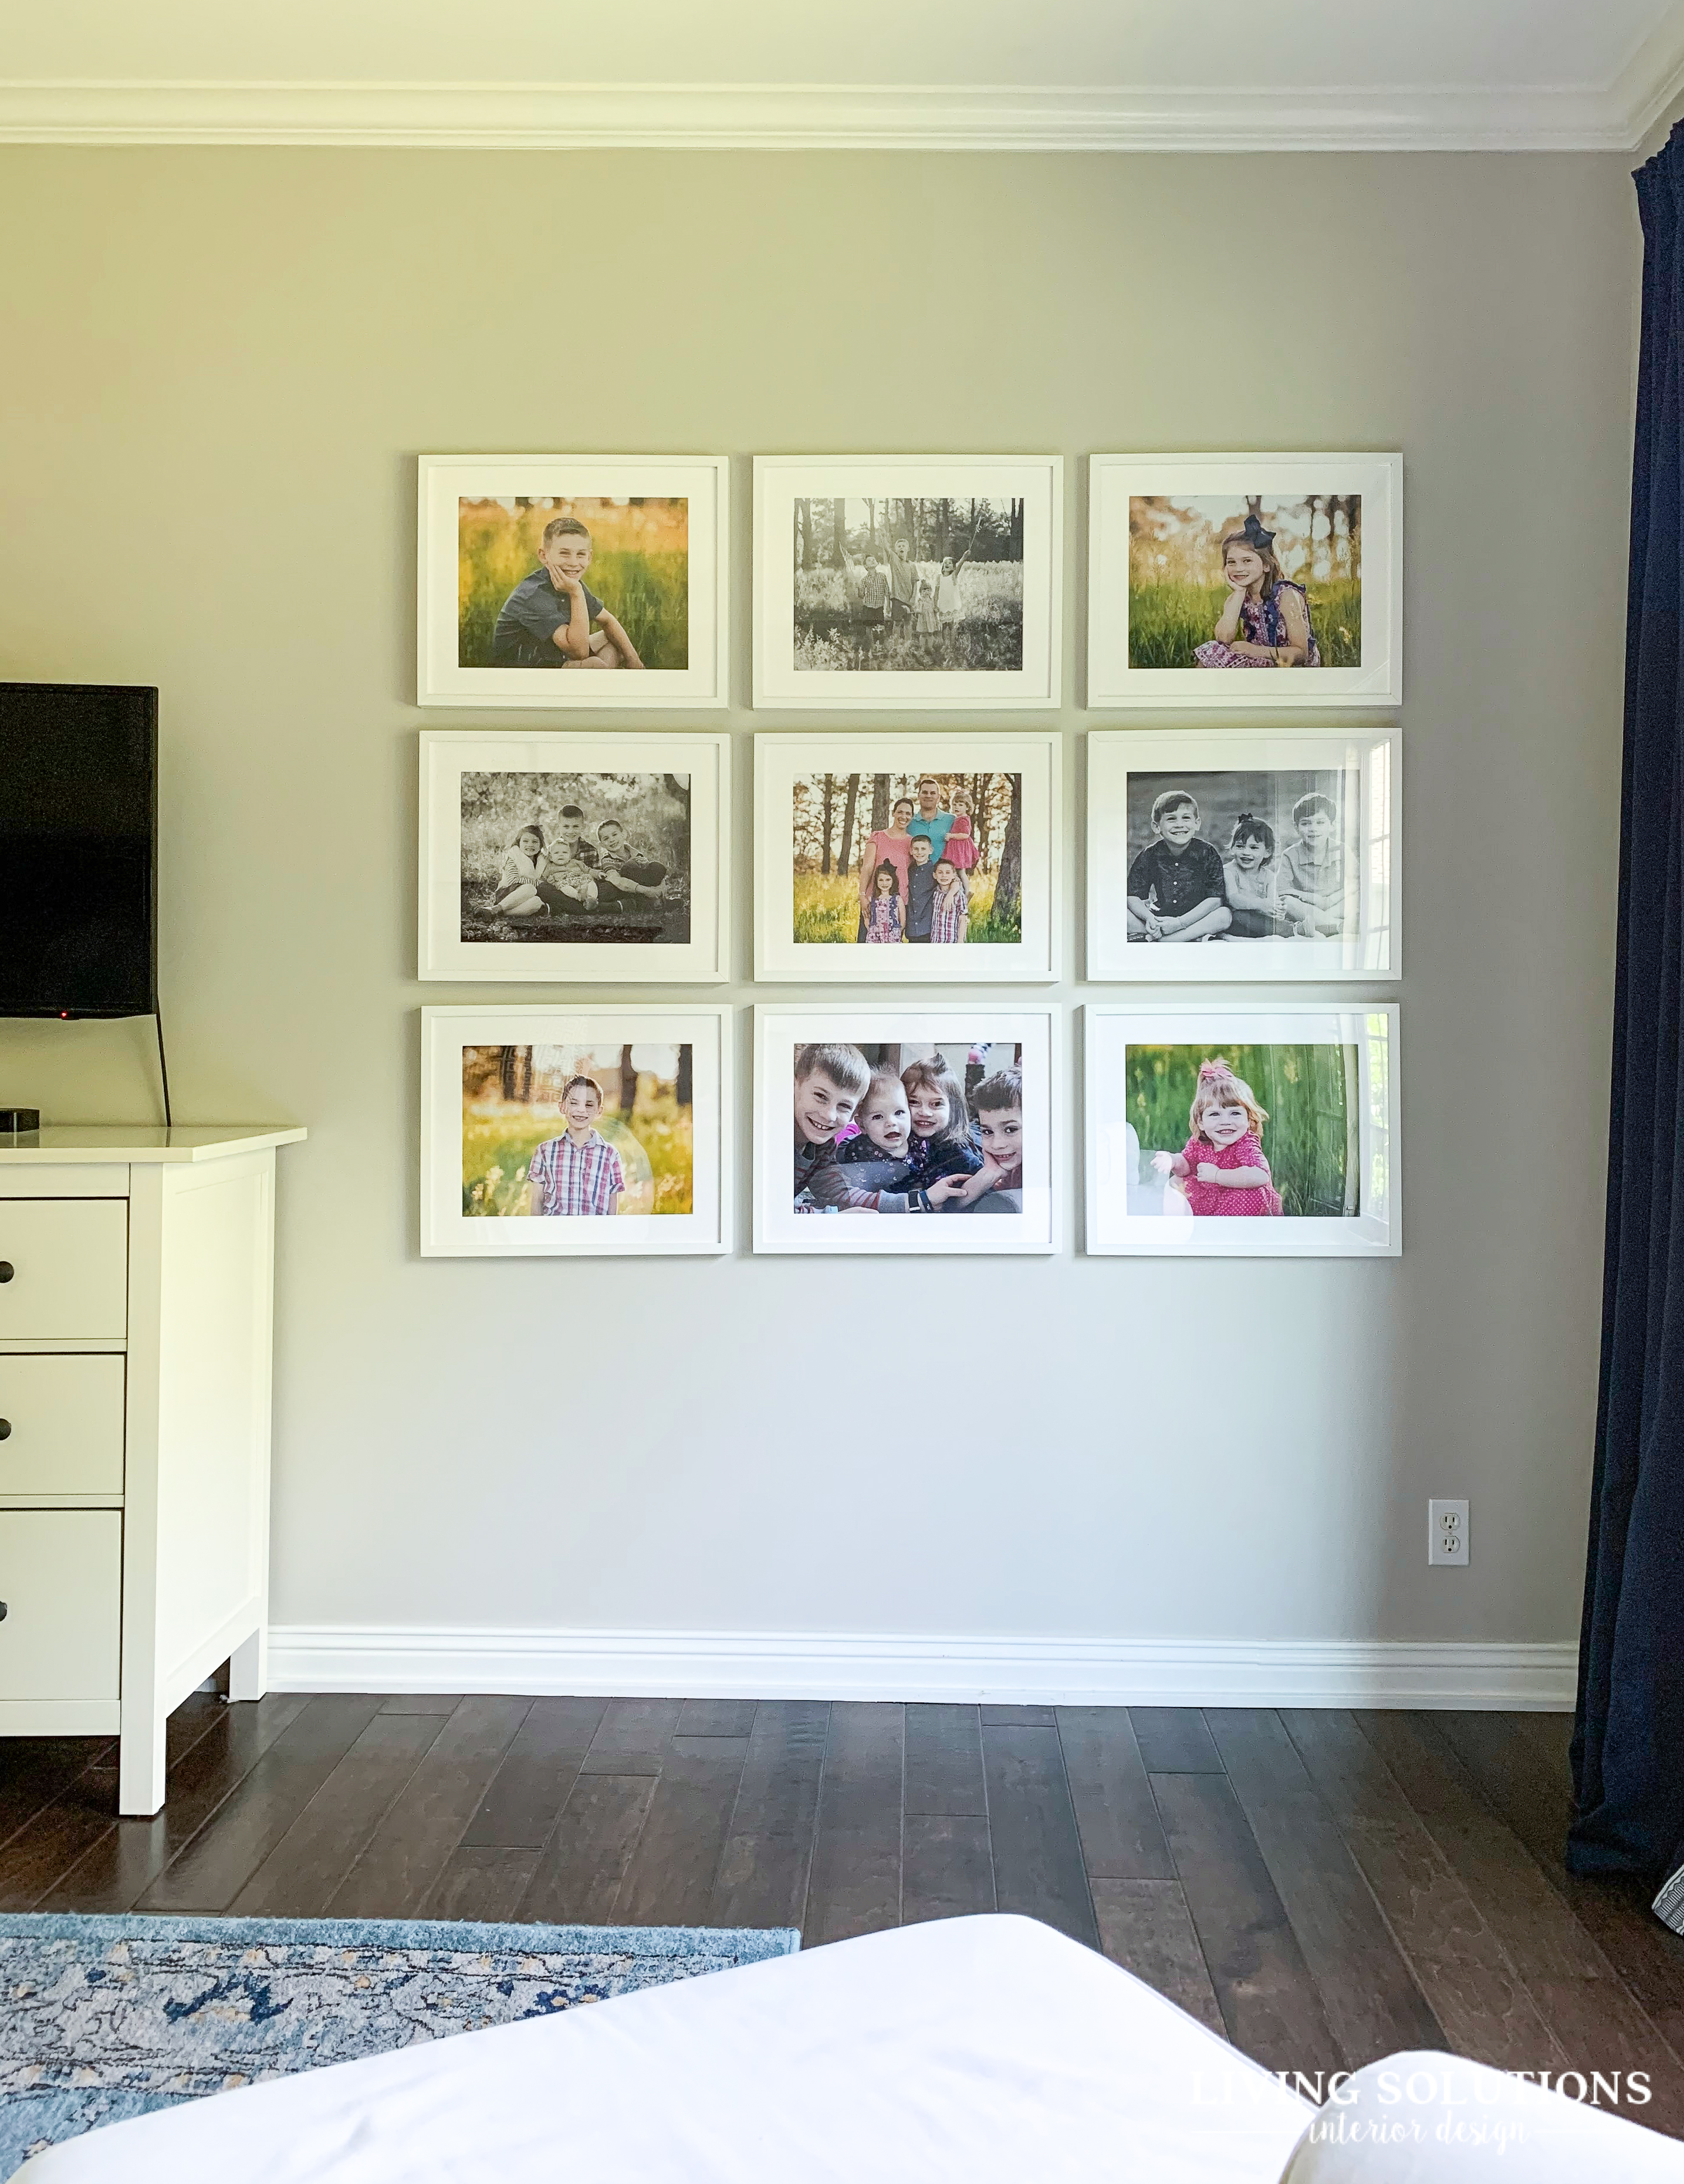
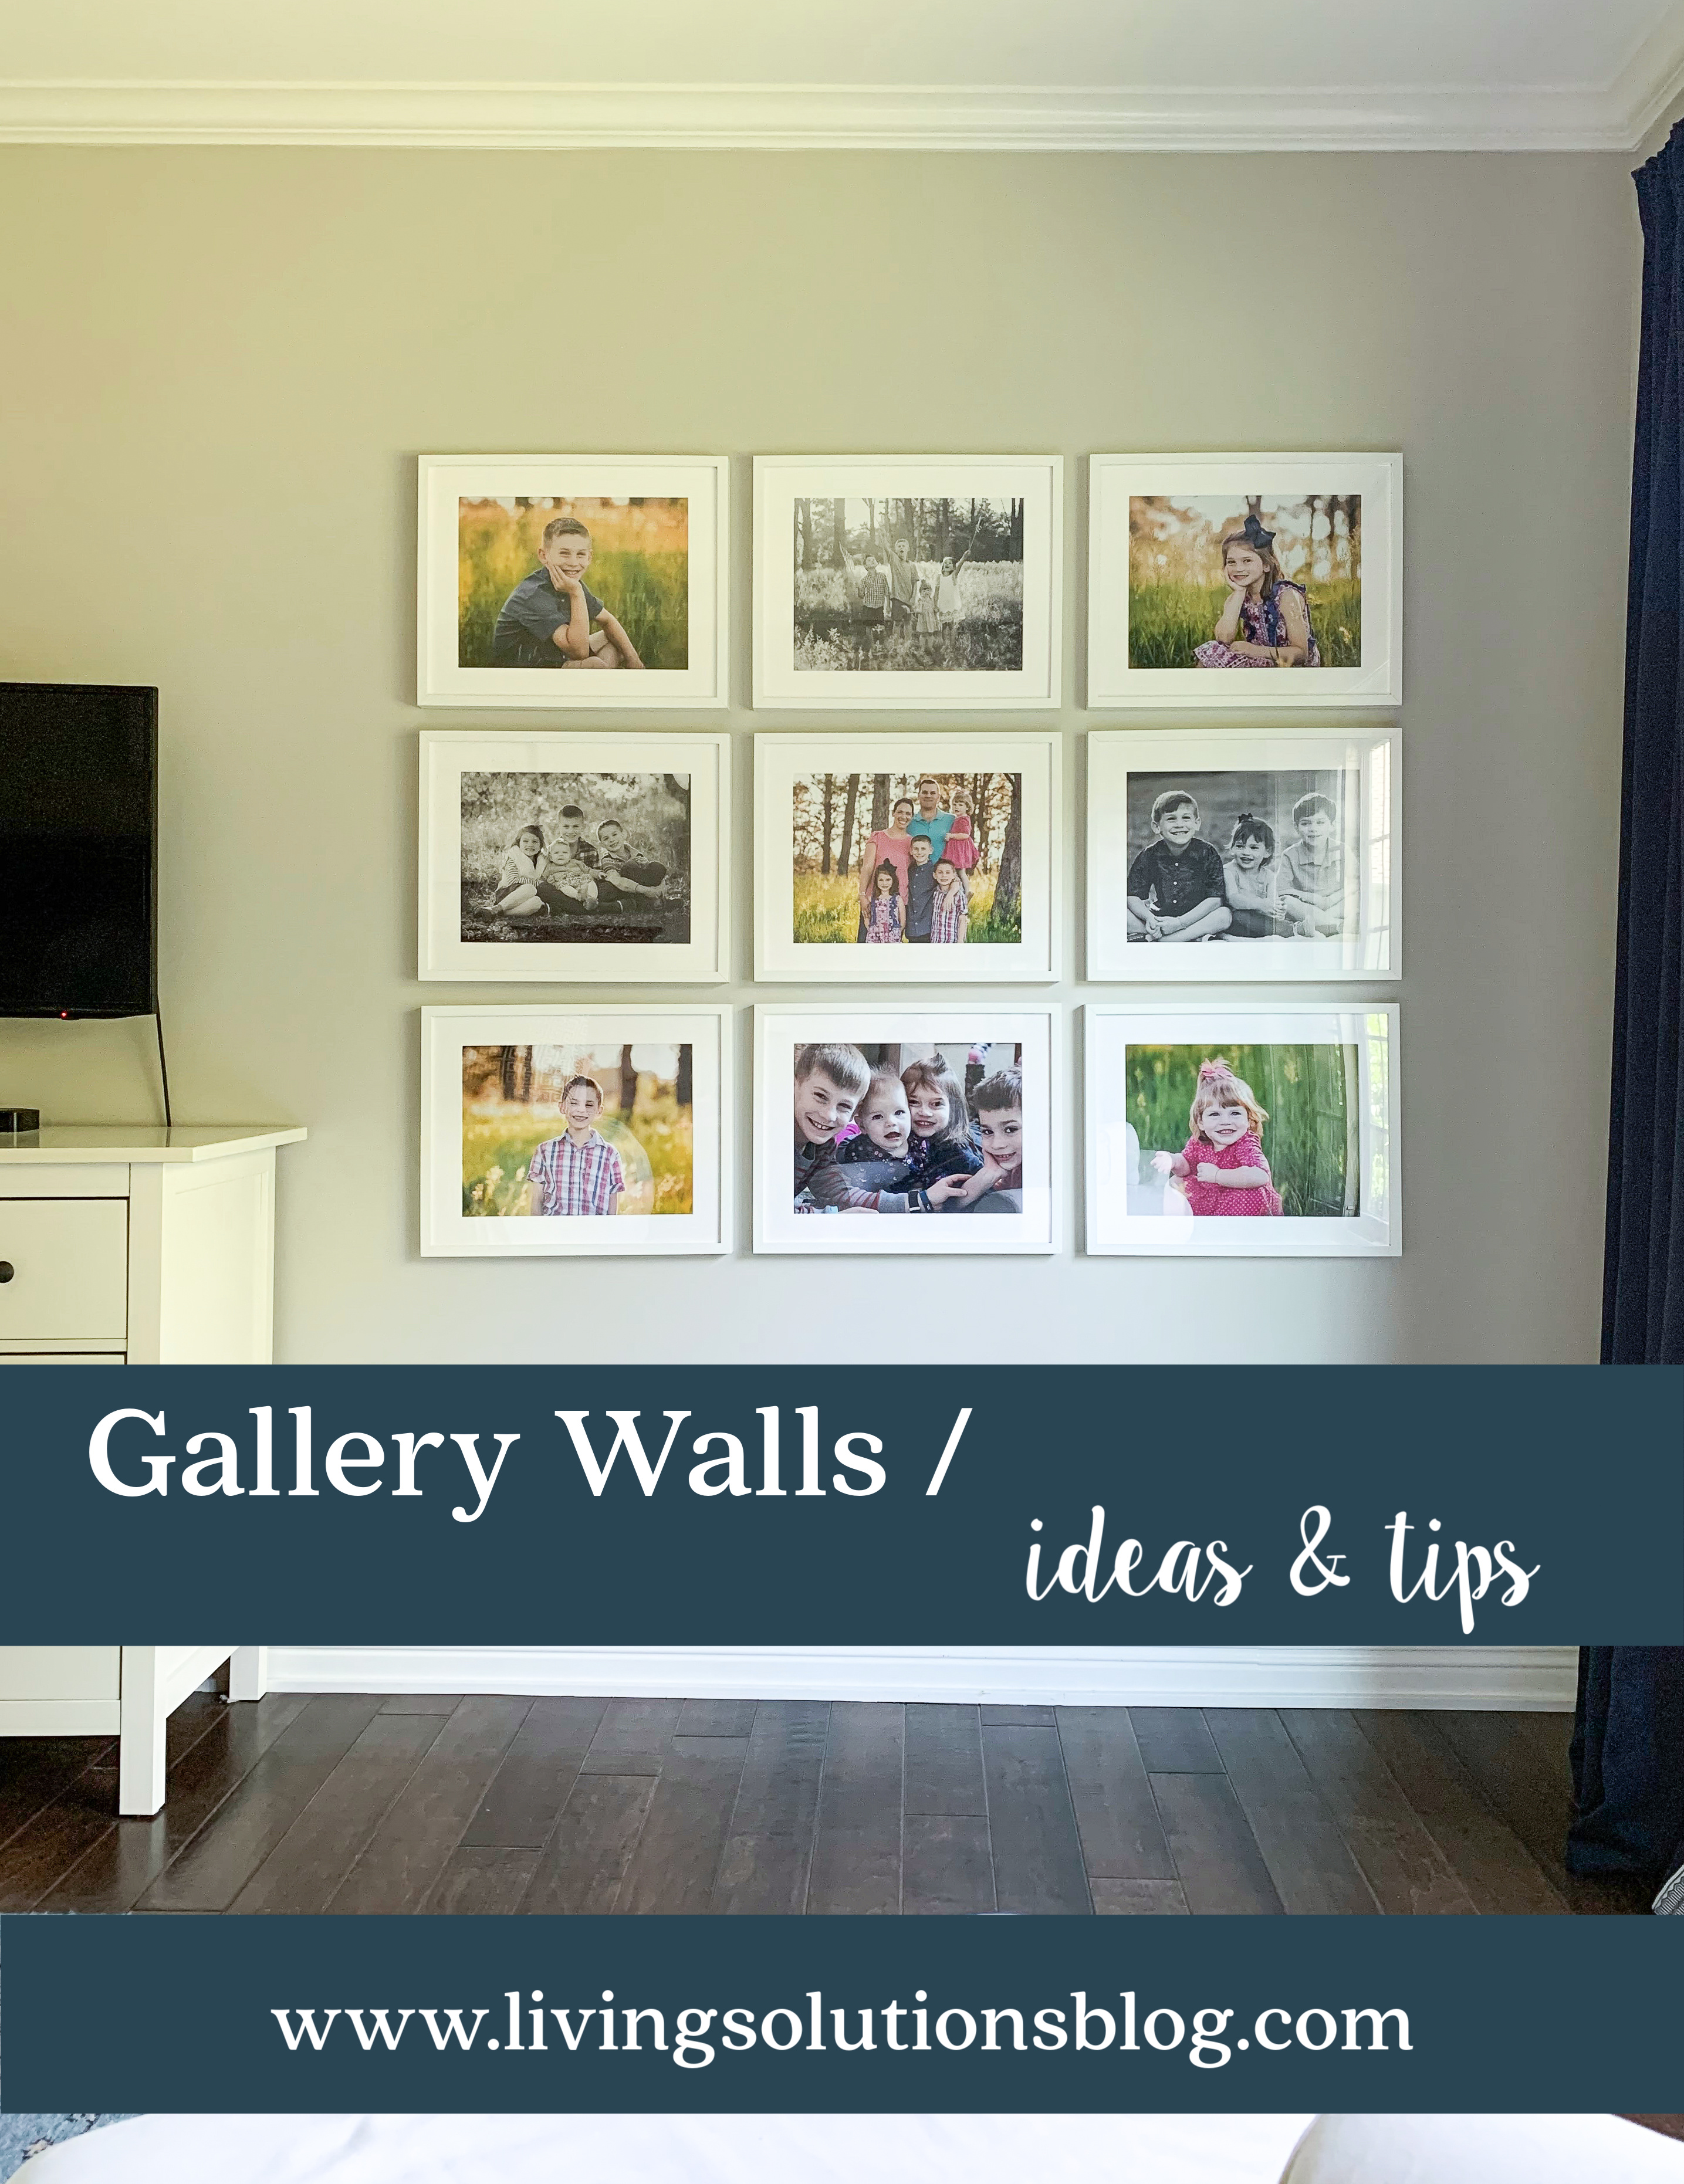
I FINALLY put up a gallery wall up in our Master Bedroom! It’s been a LONG time coming since I came up with the overall design plan!
If you’re wanting to put up your own photo gallery wall in your home, I put together a few tips and ideas.
1.) Find a Wall
To do a true gallery wall, you’ll need some space. A hallway, a stairwell, or a blank wall are the best spots for a gallery wall.
2.) Decide on the Photos
Will they all be current family photos, a collection of photos throughout the years, travel photos, pet photos. Decide on the subject. They don’t all need to be color or black and white, but there should be a balance to them. Don’t just do one black and white and the rest color. If you’re mixing tones, be sure to mix in a similar amount of both.
3.) Select the Sizes
Will they be horizontal or vertical? How much room do you have? My take is always go larger. Even if the actual photos are 5″ x 7″, be sure to have larger frames. For the most visual impact, use an 8″ x 10″ or larger photo and use a mat with your frame. As you’re looking at the photos you want to use, be sure to notate their direction {horizontal or vertical} and think about your layout.
4.) Start Thinking About Your Layout
We aren’t quite to the point of layout your photos, but start thinking about how you want it to look when it’s up on your wall.
5.) Select and Buy Frames
That leads us to the next step: Picking out your frames. My favorite frames are the Ribba Ikea frames. They are a great price point, come in a couple of finishes and have worked well throughout my own home. Another place I like to get frames is Michael’s or Hobby Lobby. Look for a place that has a good sale because doing a gallery wall can add up! Again, go larger with your frames. It will make more of a statement.
6.) Order Your Photos
Now is the time to order your photos, after you pick out your frames. Mat openings can vary, especially with Ikea frames. So be sure you’re ordering the correct sizes. My favorite place to order prints is Mpix. They offer a ton of sizes, ship quick, their quality is superb and they often run sales.
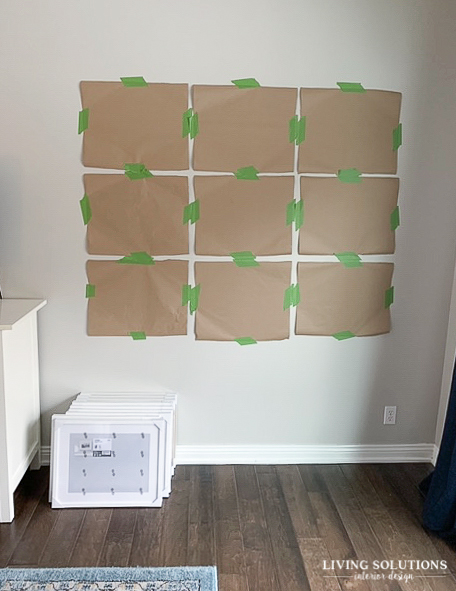
7.) Layout Your Design on the Wall with Paper
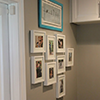
I like to use kraft butcher paper and trace the frame onto the paper and use painters tape to put it up and move it around before I put holes in the wall. Decide if you like a grid layout, a symmetrical layout, or an asymmetrical layout. Also, consider if you’ll want to add photos to this wall at a later date and be sure to leave room for that. There’s no right or wrong way to layout a gallery wall.
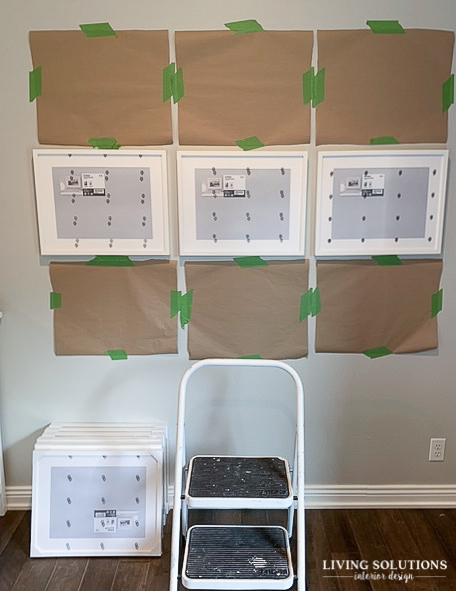
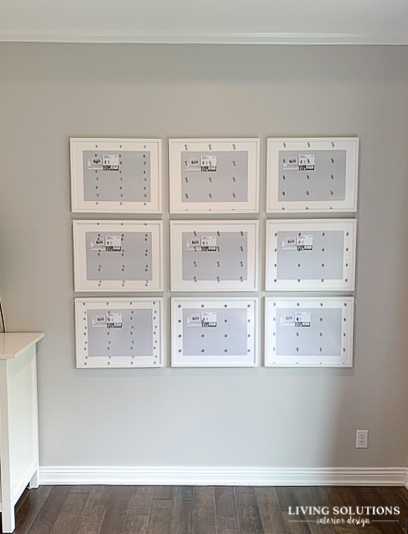
8.) Hang Those Babies Up!
Don’t be like me and have them leaning against your wall for 5 months.
A FEW EXTRA TIPS:
- Similar or the exact same frames lends itself to a more modern, clean look. A mixed collection of frames has a more collected look.
- Consider frames and photo canvases. They each have a different look and work well in a gallery wall. Keep in mind that photos in canvases can’t be swapped out. If you like to change out your photos every few years, you’ll have a lot of canvases versus photos that can get tucked behind the newest one in the frame.
- You can also use these tips for an artwork gallery wall as well.
*affiliate links used


Leave a Reply