Along with our kitchen remodel, we also included remodeling the laundry/mudroom in this renovation. And I use the term “mudroom” loosely! I think I have mentioned it before, but this house was built by an older couple. We are the second owners and the laundry room in this house wasn’t really designed for 6 people!
I tried to find some “before” pictures and these two below are the only two I could find. They are so bad, so I’m sorry in advance! Don’t judge!
Our laundry room is right off our kitchen and it leads to the garage. It’s about 5’x8′ total and originally had the washer and dryer on one side and a sink with cabinets and a closet on the opposite side. With all those things, it left about 3′ as our main traffic walk way in and our of our house. We had turned the closet into a mini mudroom with hooks for backpacks and jackets and a place for socks and shoes. It was a fine interim solution, but it wasn’t great.
When it was time to leave the house, kids would just stop and sit down right in the middle of this tiny room to put on their shoes, all while the door was open and I was trying to get through to load up the baby in the car, and another kid was trying to get their backpack out of the closet. Can you picture it?!? :)
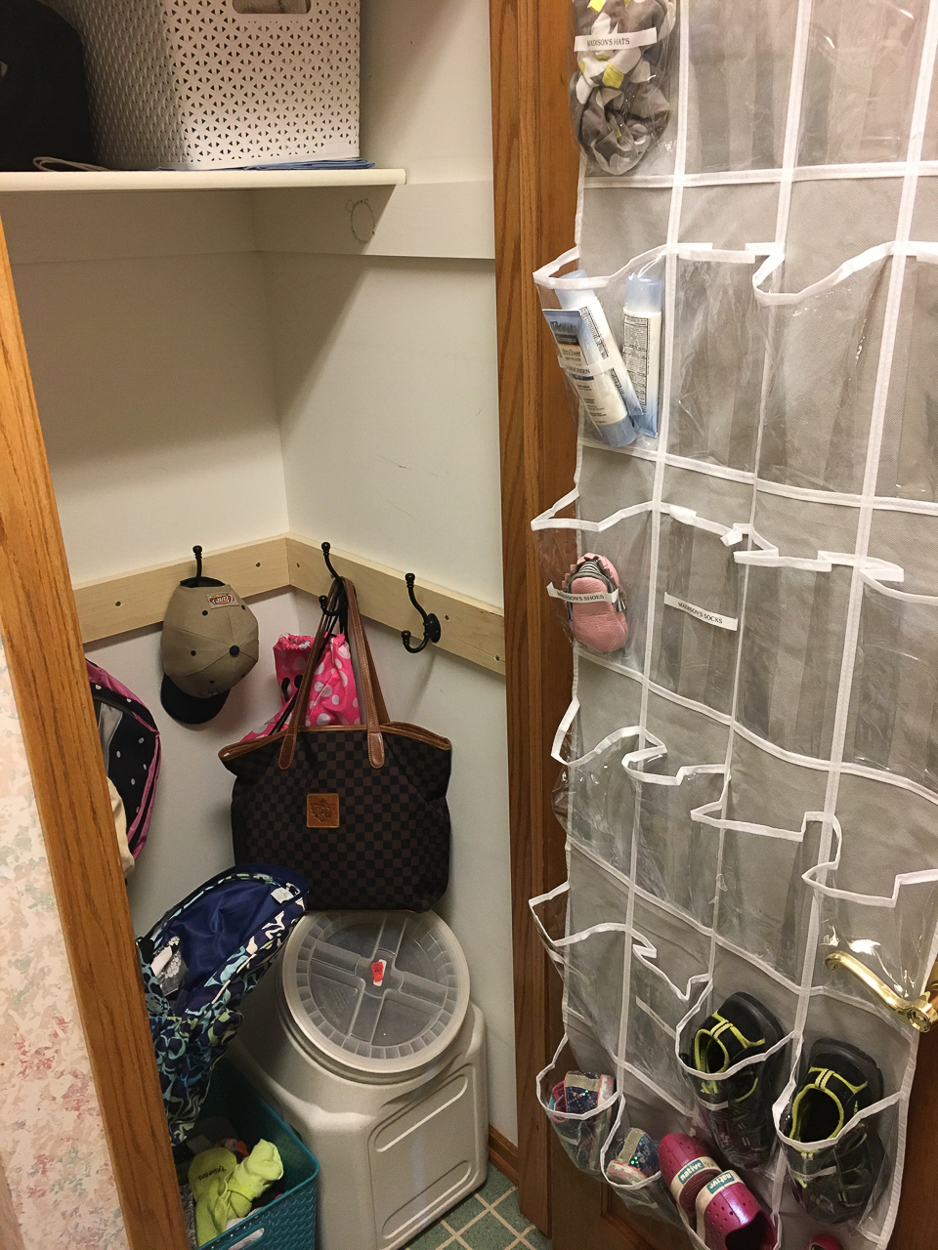
This was on not a super organized day :) but the over the door shoe organizer worked great for shoes, hats, sunscreen, mittens, etc. I changed the upper contents with the seasons.
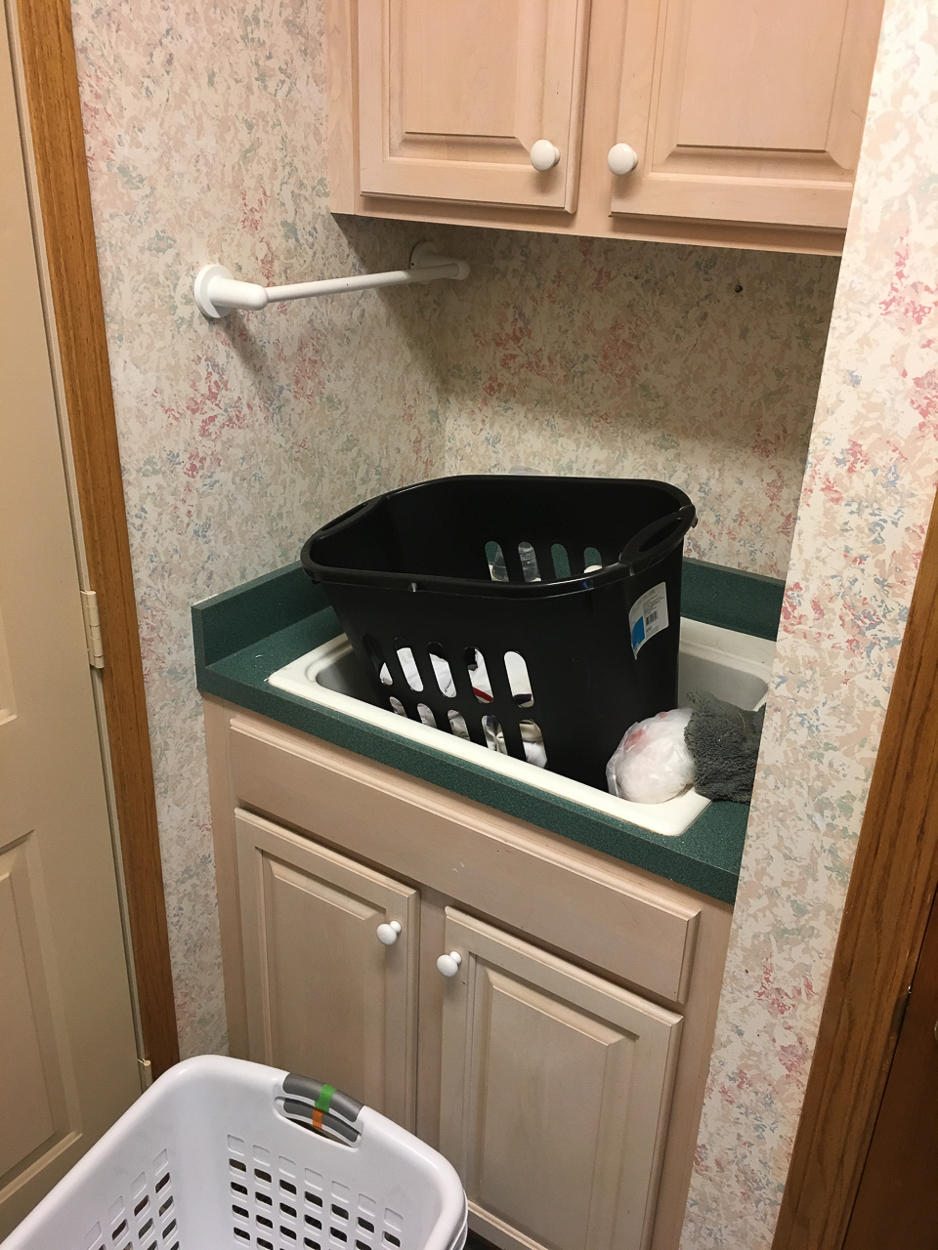
We never used as a sink unless there was a painting project going on. It really just was used to hold extra hampers when I was doing laundry. {More pink cabinets, hunter green and mauve wallpaper. At least it was very consistent throughout the house.}
There were a whole lot of ideas on how to improve this space and I wanted us to live with it for a year or so, through all the seasons, to see what we really needed and what we were missing. There were ideas to move our washer/dryer to our master closet, bump out the laundry room into the garage to make for a larger mudroom, and seeing if we could take up any space from the kitchen to make it larger. They all ended up just not being the right design decision. And I’m really glad we waited on this project, as well as the kitchen remodel, for at least a year to see how our family was really living in this space. For areas in your home that are work horses {laundry rooms, mudrooms, kitchens, even bathrooms } time living in these spaces is SO beneficial to learning how your family is really using them.
We decided to take out the sink, cabinets, and closet and just make that side of the laundry room one large “locker” with hooks, drawers, and open shelving.
We actually took the laundry sink out of our laundry room in our last home as well. A lot of people in both those situations kept asking, “Don’t you think you’ll need a sink in your laundry room?” In both this house and our last house, our kitchen sink was pretty close and I felt in both situations that we needed to use that laundry room real estate for something other than a sink. I never regretted that decision in our last home. Yes, you want to be sure you don’t totally change something so specifically that it doesn’t make sense if you go to sell your home. But it’s ok to make your home work for you and your family. If it makes sense for how you live and would make life simpler, easier and more functional for you, it’s ok to change things to accommodate that.
 You can see in the picture above, the washer dryer is on one side and across the walkway is where the sink and closet were.
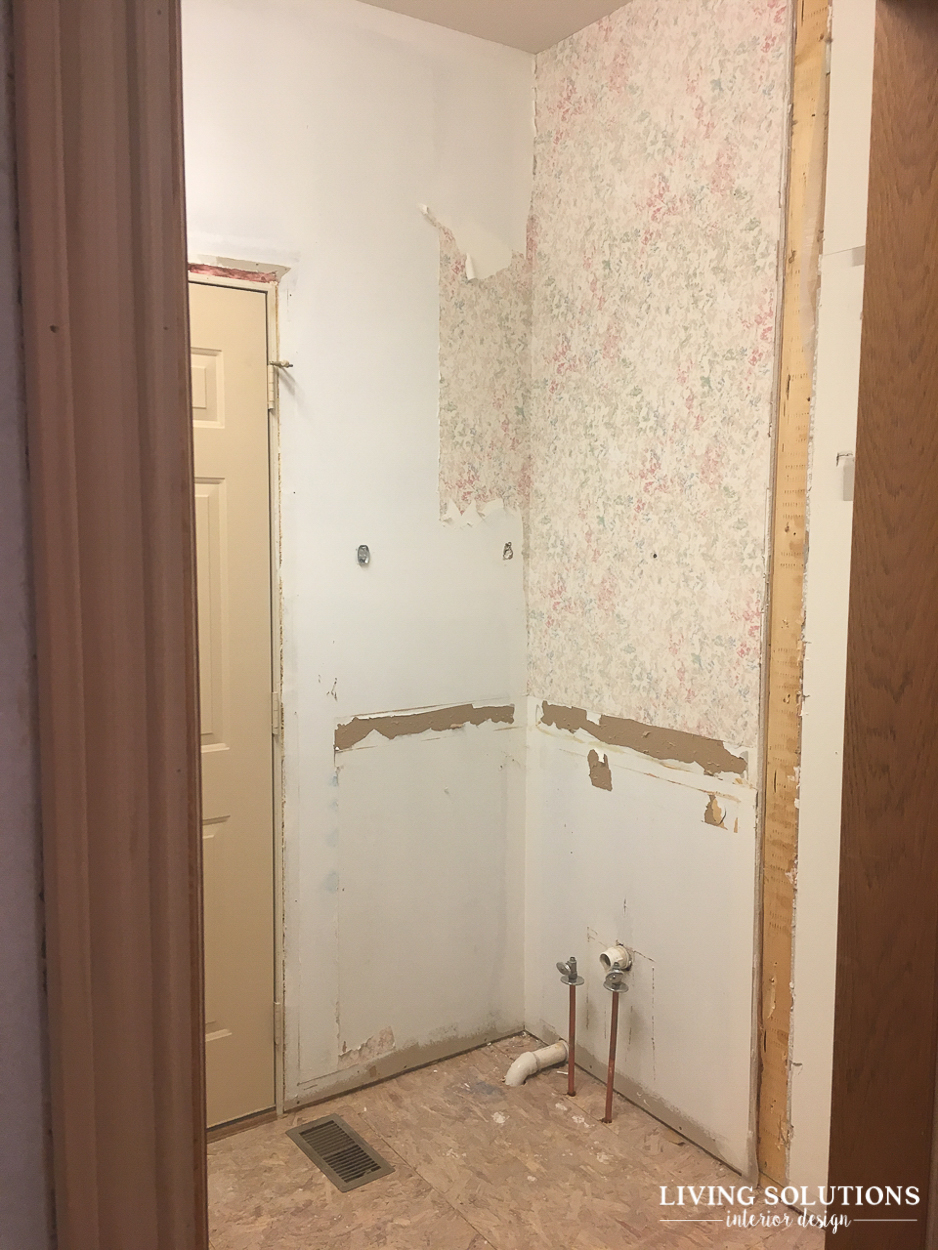 Once the closet, sink and cabinets, were out it felt HUGE! It was truly its own room, where before it felt more like a closet.
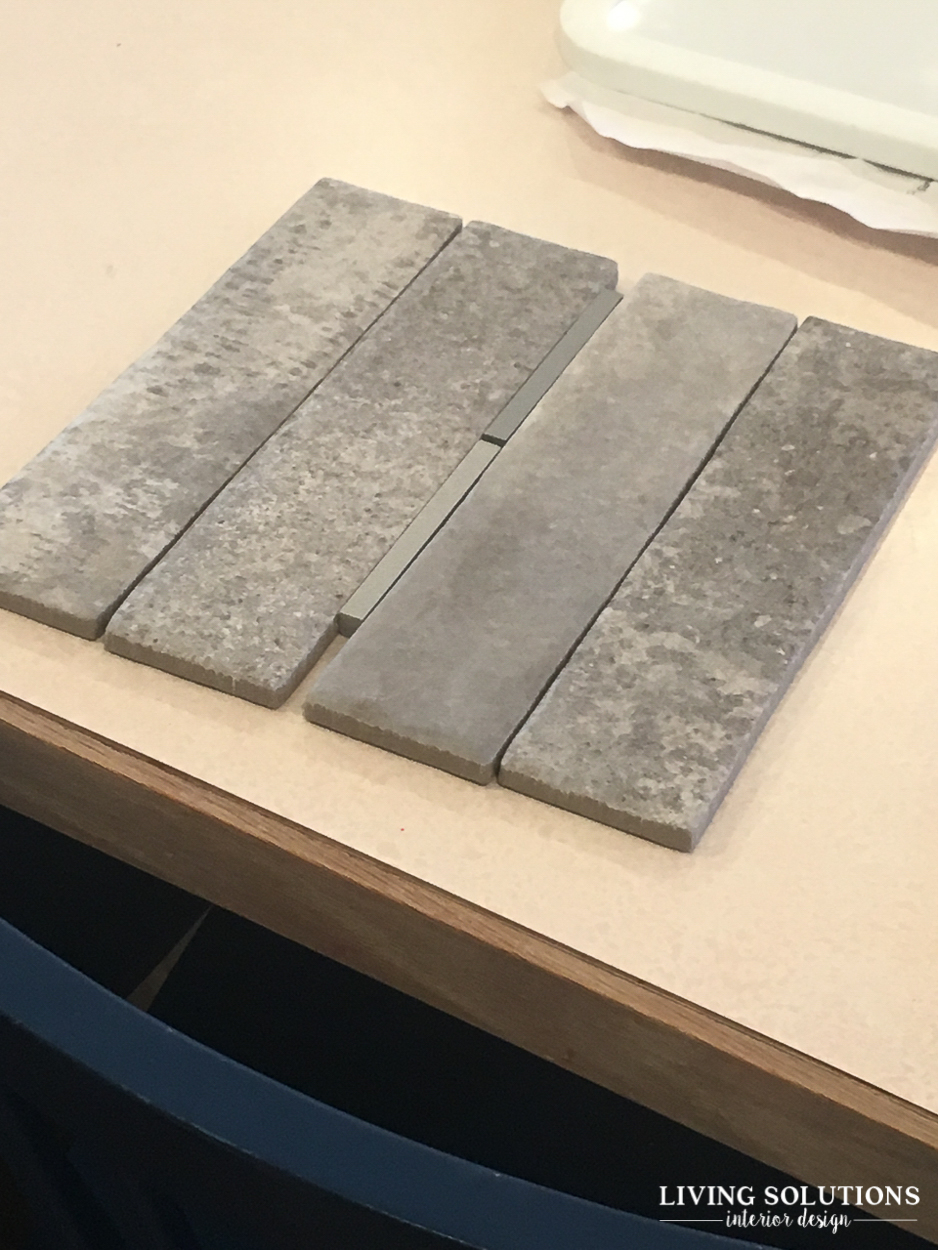
I ended up going with the lighter grout color.
In our last house, we had a ton of brick on the walls and as flooring, and I loved the character it brought to the home. I wanted a brick floor in a herringbone pattern for the laundry room and ended up finding this one at Home Depot.
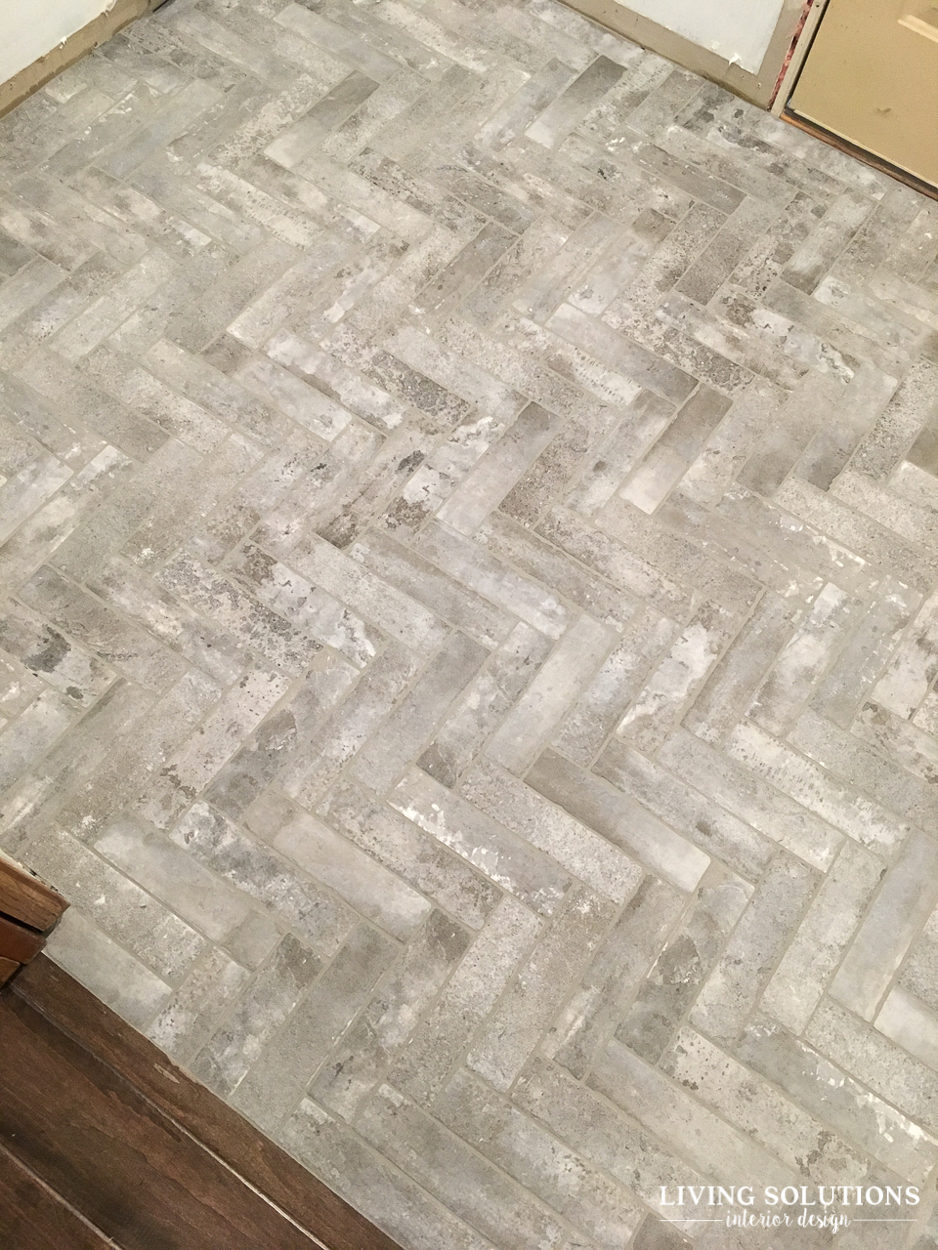
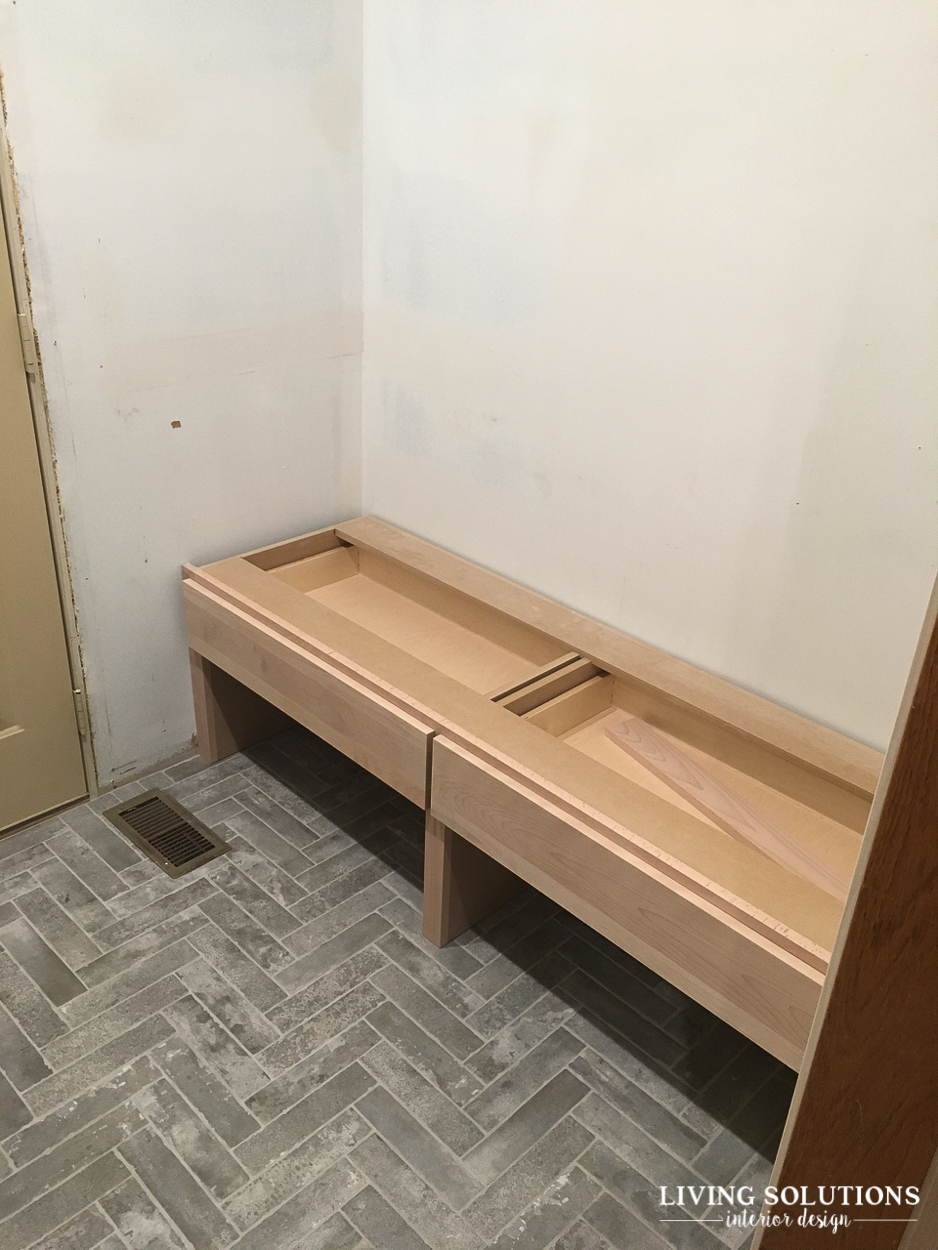
The beginnings of a built-in!
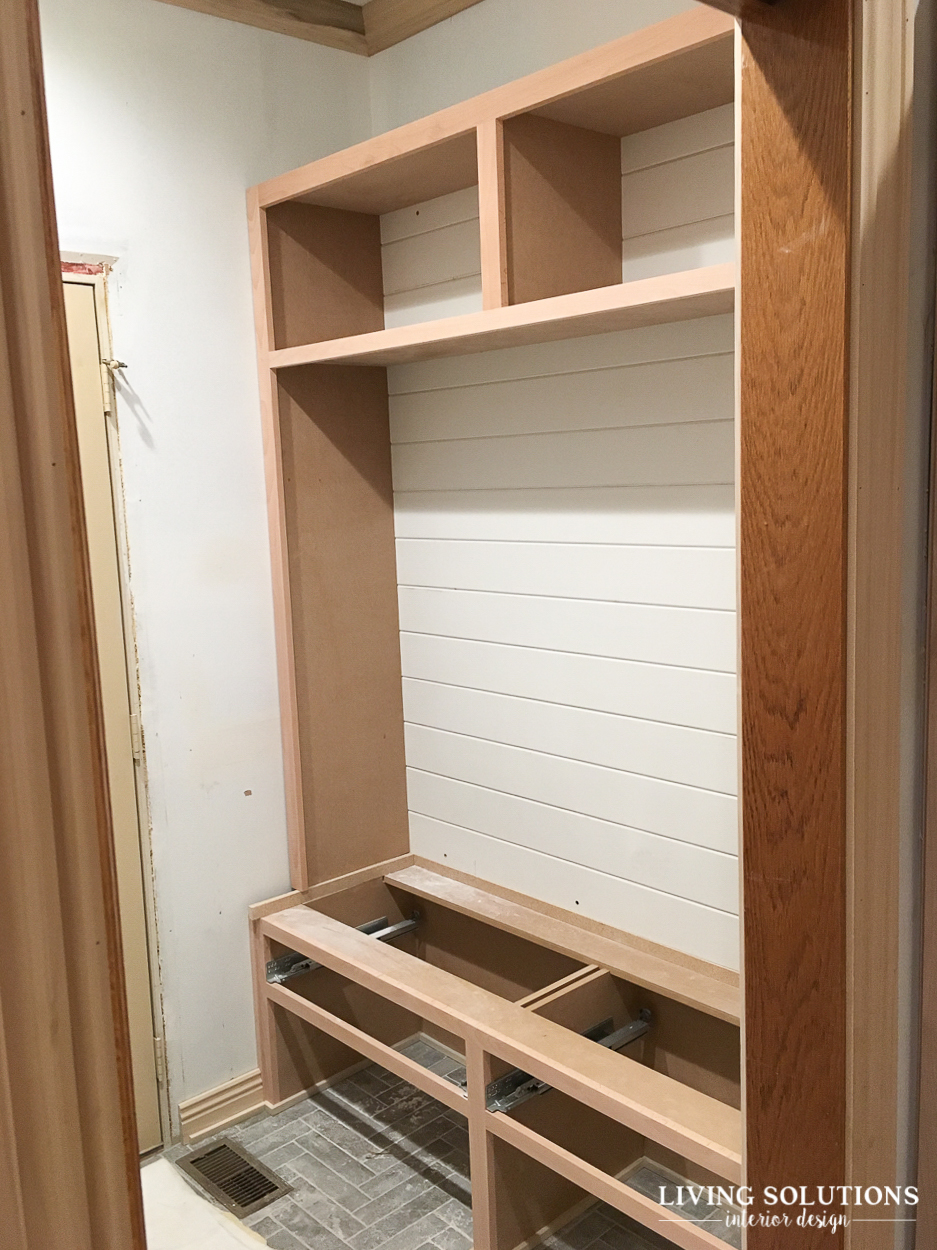 To save a little money, we ended up not going to the ceiling with the cabinetry and kept the shelving open up top instead of adding cabinet doors. This way, it mimics the built-in in the living room, and we added some left over tongue and groove paneling to the back of the cabinet to keep the design consistent throughout the house.
I kept the bottom open for shoe baskets, and I wanted two drawers for socks, mittens, etc. For years, I have kept my kids socks right where their shoes are instead of upstairs in their rooms. I realized long ago that it was a pain point in our “getting out of the house” routine. Either I would forget to put socks on when they first woke up or they did as they got older, and sending them upstairs to grab socks when we were already running late was just a recipe for disaster. So socks live with the shoes :). You can see our last “mudroom” here.
As my boys are getting older, they actually like having some socks in their rooms, but the majority of the socks are still down with the shoes. My trusty drawer dividers didn’t fit in these drawers {I wanted enough clearance for baskets under the drawers for shoes and if the seat got too high, it wouldn’t have worked too well, especially for little kids.} and I found one at Target that fit great height-wise, but was too long. So I’m on the hunt for one that fits and I think I’ve found a few! Can’t ever have enough drawer dividers :)
If you follow me on Instagram,you may have seen in my stories how this space is looking now. It feels like we have so much room! When I share the final remodel post, I’ll be sure to share some of the other decisions I made for this space that made the most functional sense. If you’ve been here for a while, you know I love a space that functions well! I’m always working on practical, functional design for everyday life that also looks great!
Let’s be friends!
Come find me on Pinterest // Facebook // Instagram
I would love to connect with you!



Leave a Reply